
Basics
How to Preserve Old Family Photos: A Practical Guide
By the Retrocap Team · Updated
TL;DR
To preserve old family photos, keep the originals cool, dry, dark and in acid-free enclosures. Handle them gently, and make digital copies so the images survive even if the prints don't. Use restoration on the copies, never the originals, and ask a professional conservator about valuable or fragile prints.
To preserve old family photos, do three things: store the originals in a cool, dry, dark place using acid-free materials, handle them as little and as gently as you can, and make good digital copies. Then back those copies up in more than one place. None of this takes special skills.
This guide walks through each step, from deciding what to do with a pile of unsorted photos to when it’s time to call a professional.
What to do with old family photos first
If you’ve inherited boxes of photos, it’s tempting to start sorting right away. A slower start protects them.
- Pick a clean, flat workspace. A large table covered with a clean sheet of plain paper works well. Keep drinks and food far away.
- Wash and dry your hands. Clean, completely dry hands are fine for most prints. Some people prefer cotton gloves. Either way, hold each photo by its edges and avoid touching the image surface.
- Sort gently. Group photos loosely by person, place or decade. Don’t worry about perfect order yet.
- Set aside anything fragile. Cracked, curling, stuck-together or flaking prints need extra care. Leave them where they are for now.
- Note what you know. Names, places and dates are easy to lose. Write them down on a separate sheet, or record a voice memo while the people who remember are still around.
If the photos came from a relative who has passed away, take your time. There’s no deadline, and a calm pace is kinder to both you and the prints.
How to store old photos
Storage is where most of the long-term benefit comes from. Paper, chemicals and ink in old prints react to heat, moisture, light and the materials around them.
Choose the right room
- Cool and steady beats cold and changing. Fluctuating temperature is hard on prints. A closet in a main living area, or under a bed, is usually better than an attic or garage.
- Keep it dry. Damp encourages mold and makes prints stick together. Avoid basements, bathrooms and exterior walls that get condensation.
- Keep it dark. Light fades prints over time. Direct sun is the worst, but bright lamps add up too.
- Stay away from heat sources. Radiators, vents, and the tops of appliances all dry out and warp prints.
Choose the right containers
Look for products labeled archival, acid-free or photo-safe. These include boxes, folders, sleeves and interleaving tissue.
| Safer choice | Better to avoid |
|---|---|
| Acid-free boxes and folders | Ordinary cardboard shoeboxes |
| Photo-safe sleeves labeled archival | Soft, flexible plastics with a strong chemical smell |
| Acid-free tissue between prints | Newspaper or plain scrap paper between prints |
| Loose prints in a sturdy box, laid flat or stood up with support | Overstuffed boxes that bend or squeeze the prints |
Don’t crowd the box. A few prints per folder is better than a thick stack pressing on the bottom one. Large or very fragile prints do best lying flat.
Skip the quick fixes
- No tape, glue or sticky notes on the photo or its edges. They stain and leave residue that is very hard to remove.
- No rubber bands, paper clips or staples. They dent, rust and cut into the image.
- No pens on the back. Ink can bleed through. If you must label an original, a soft pencil and a very light touch on the border or back edge is the usual approach. Many people simply label the folder or sleeve instead.
- No laminating. It can’t be reversed.
- Avoid “magnetic” or self-stick albums. They are known for trapping and damaging photos over time.
- Don’t try to clean prints with water, cleaners, heat or household products. These can cause permanent damage.
Handling old photos safely
Most damage happens when someone is just looking at a photo.
- Support the whole print with both hands when you pick it up, especially if it’s brittle.
- Don’t flex or roll prints that are curled. Flattening them yourself can crack the surface.
- Don’t pass a fragile photo around a table. Put it down and let others look.
- Don’t write on, mark or sticker the front.
- Don’t pull apart prints that are stuck together.
Display copies, not originals. A framed original sitting in daylight will slowly fade. A good print of a copy, or a digital frame, lets everyone enjoy the picture while the original stays in the dark.
If a print is already torn, our guide on fixing a torn photo without damaging it covers the safe first steps. For prints that got wet, see how to restore water-damaged photos before you do anything else. If you see mold, keep that photo away from the others and ask a professional for advice before handling it further.
How to digitize old photos
A digital copy is your insurance. Fires, floods, moves and simple aging can destroy a box of prints, but files can be copied again and again.
You don’t need special equipment. A modern phone camera can make very usable copies if you manage light and glare. We cover the full process, including positioning, lighting and avoiding reflections, in how to scan old photos with your phone without glare, so we won’t repeat it here. A few points matter for preservation:
- Digitize the most fragile and most important photos first.
- Don’t skip the backs. Handwritten names and dates are part of the record. Photograph them too.
- Scan album pages whole if the photos are stuck down, then decide later what to do about the originals.
- Keep the original files untouched. Always edit a copy.
- Name files clearly, for example with a family name, place and approximate year, so you can find them later.
- Back up in more than one place. For example, keep one copy on your computer, one on an external drive, and one in a cloud storage service you trust.
Once your photos are digital, they are also much easier to share with relatives and to use in family history projects.
Restoring the digital copies with Retrocap
Scanning keeps a photo as it is today, including its fading, scratches and stains. Restoration is a separate step, and it belongs on the copy, never the original.
Retrocap is an AI photo restoration app for iPhone and Android. It’s free to download, though restoring photos uses credits. The Restore tool works like this:
- Open Retrocap and choose Restore, then pick the photo copy you scanned.
- Choose a restoration level. Standard suits light or moderate damage, like mild fading, small scratches or a single clean tear. Deep is for heavier damage, such as long tears, creases, stains, very pale photos or a strong color cast. Trying Standard first and switching to Deep if needed is a sensible approach.
- Turn on the options you need: Fix Scratches & Tears, Enhance Faces or Remove Stains.
- When the result appears, compare it with the original and save it to your photo library or share it.
Results usually take seconds and are usually ready in under a minute. Retrocap needs an internet connection because photos are processed on cloud servers, not on your phone. Your photos are sent securely to an AI processing partner and used only to create your results. They are never sold, and you can delete your photos and data from the app at any time.
A few honest limits are worth knowing:
- A sharper, evenly lit scan gives better results than a dim or blurry one.
- AI rebuilds missing areas from the detail around them. Parts that are completely gone, such as a lost face, can’t always be recovered.
- AI can slightly change facial features, especially on very small or very blurry faces. Always compare with the original.
- If you colorize a photo, the colors are a realistic interpretation, not a record of what was really there.
For a deeper walkthrough, see our beginner’s guide to restoring old photos.
When to call a professional conservator
Home care is enough for most family snapshots. But some photos deserve expert hands:
- Originals with real historical, financial or deep family value
- Prints that are flaking, cracking, sticking together or very brittle
- Photos with mold or heavy water damage
- Unusual or early formats, like glass plates, tintypes or large mounted portraits
- Anything you’re afraid to touch
A professional photograph conservator can assess a piece and advise on safe treatment. Scanning or photographing the item first, if it’s safe to do so, gives you a backup before anyone handles it further. Local museums, libraries and archives can often point you to a qualified conservator.
Share the photos respectfully
Old photos often show people who can’t speak for themselves, or relatives who may feel differently about being shared. Before you post a photo online or send it around, think about who is in it. Be thoughtful with photos of deceased relatives, children, or sensitive family moments. Use restoration to bring out what’s really there, never to mislead anyone or to change a record.
A simple preservation plan
If it all feels like a lot, here is a short checklist:
- Move prints to acid-free boxes in a cool, dry, dark room.
- Leave any tape or adhesive on valuable or fragile prints, and ask a conservator before trying to remove it. Don’t force clips or rubber bands off brittle photos either.
- Digitize the most important photos first, front and back.
- Back up your files in more than one place.
- Restore copies, not originals, and compare results with the originals.
- Label what you know, while you still can.
You don’t have to finish in a weekend. Every photo you protect and copy is one less thing to lose, and when you’re ready to repair the copies, you can try Retrocap at your own pace.
Frequently asked questions
What is the safest way to store old photos at home?
Keep them in archival, acid-free boxes or sleeves, in a cool, dry, dark room with steady conditions. Attics, basements, garages and spots near heaters or windows are poor choices.
Should I throw away the originals after scanning them?
No. A scan is a copy, and the original may still matter for family history, for better rescans later, or for sentimental reasons. Keep the prints stored safely, even if you mostly use the digital versions.
Is it okay to remove photos from old sticky albums?
Don't force them. Pulling on a photo stuck to a page can tear or crack it. Scan or photograph the whole page first, then ask a professional conservator if the photos are important to you.
Can I restore a photo and still keep the original?
Yes, and that is the best approach. Restore a digital copy and leave the physical print untouched. With Retrocap, the restored result is a new image you can compare with the original and save to your phone's photo library.
What should I do with old family photos nobody wants?
Ask relatives first, since someone may value them. Scan the photos, label what you know, and share the digital copies. If you plan to donate originals, contact a local historical society or archive to ask whether they accept them.
Related guides
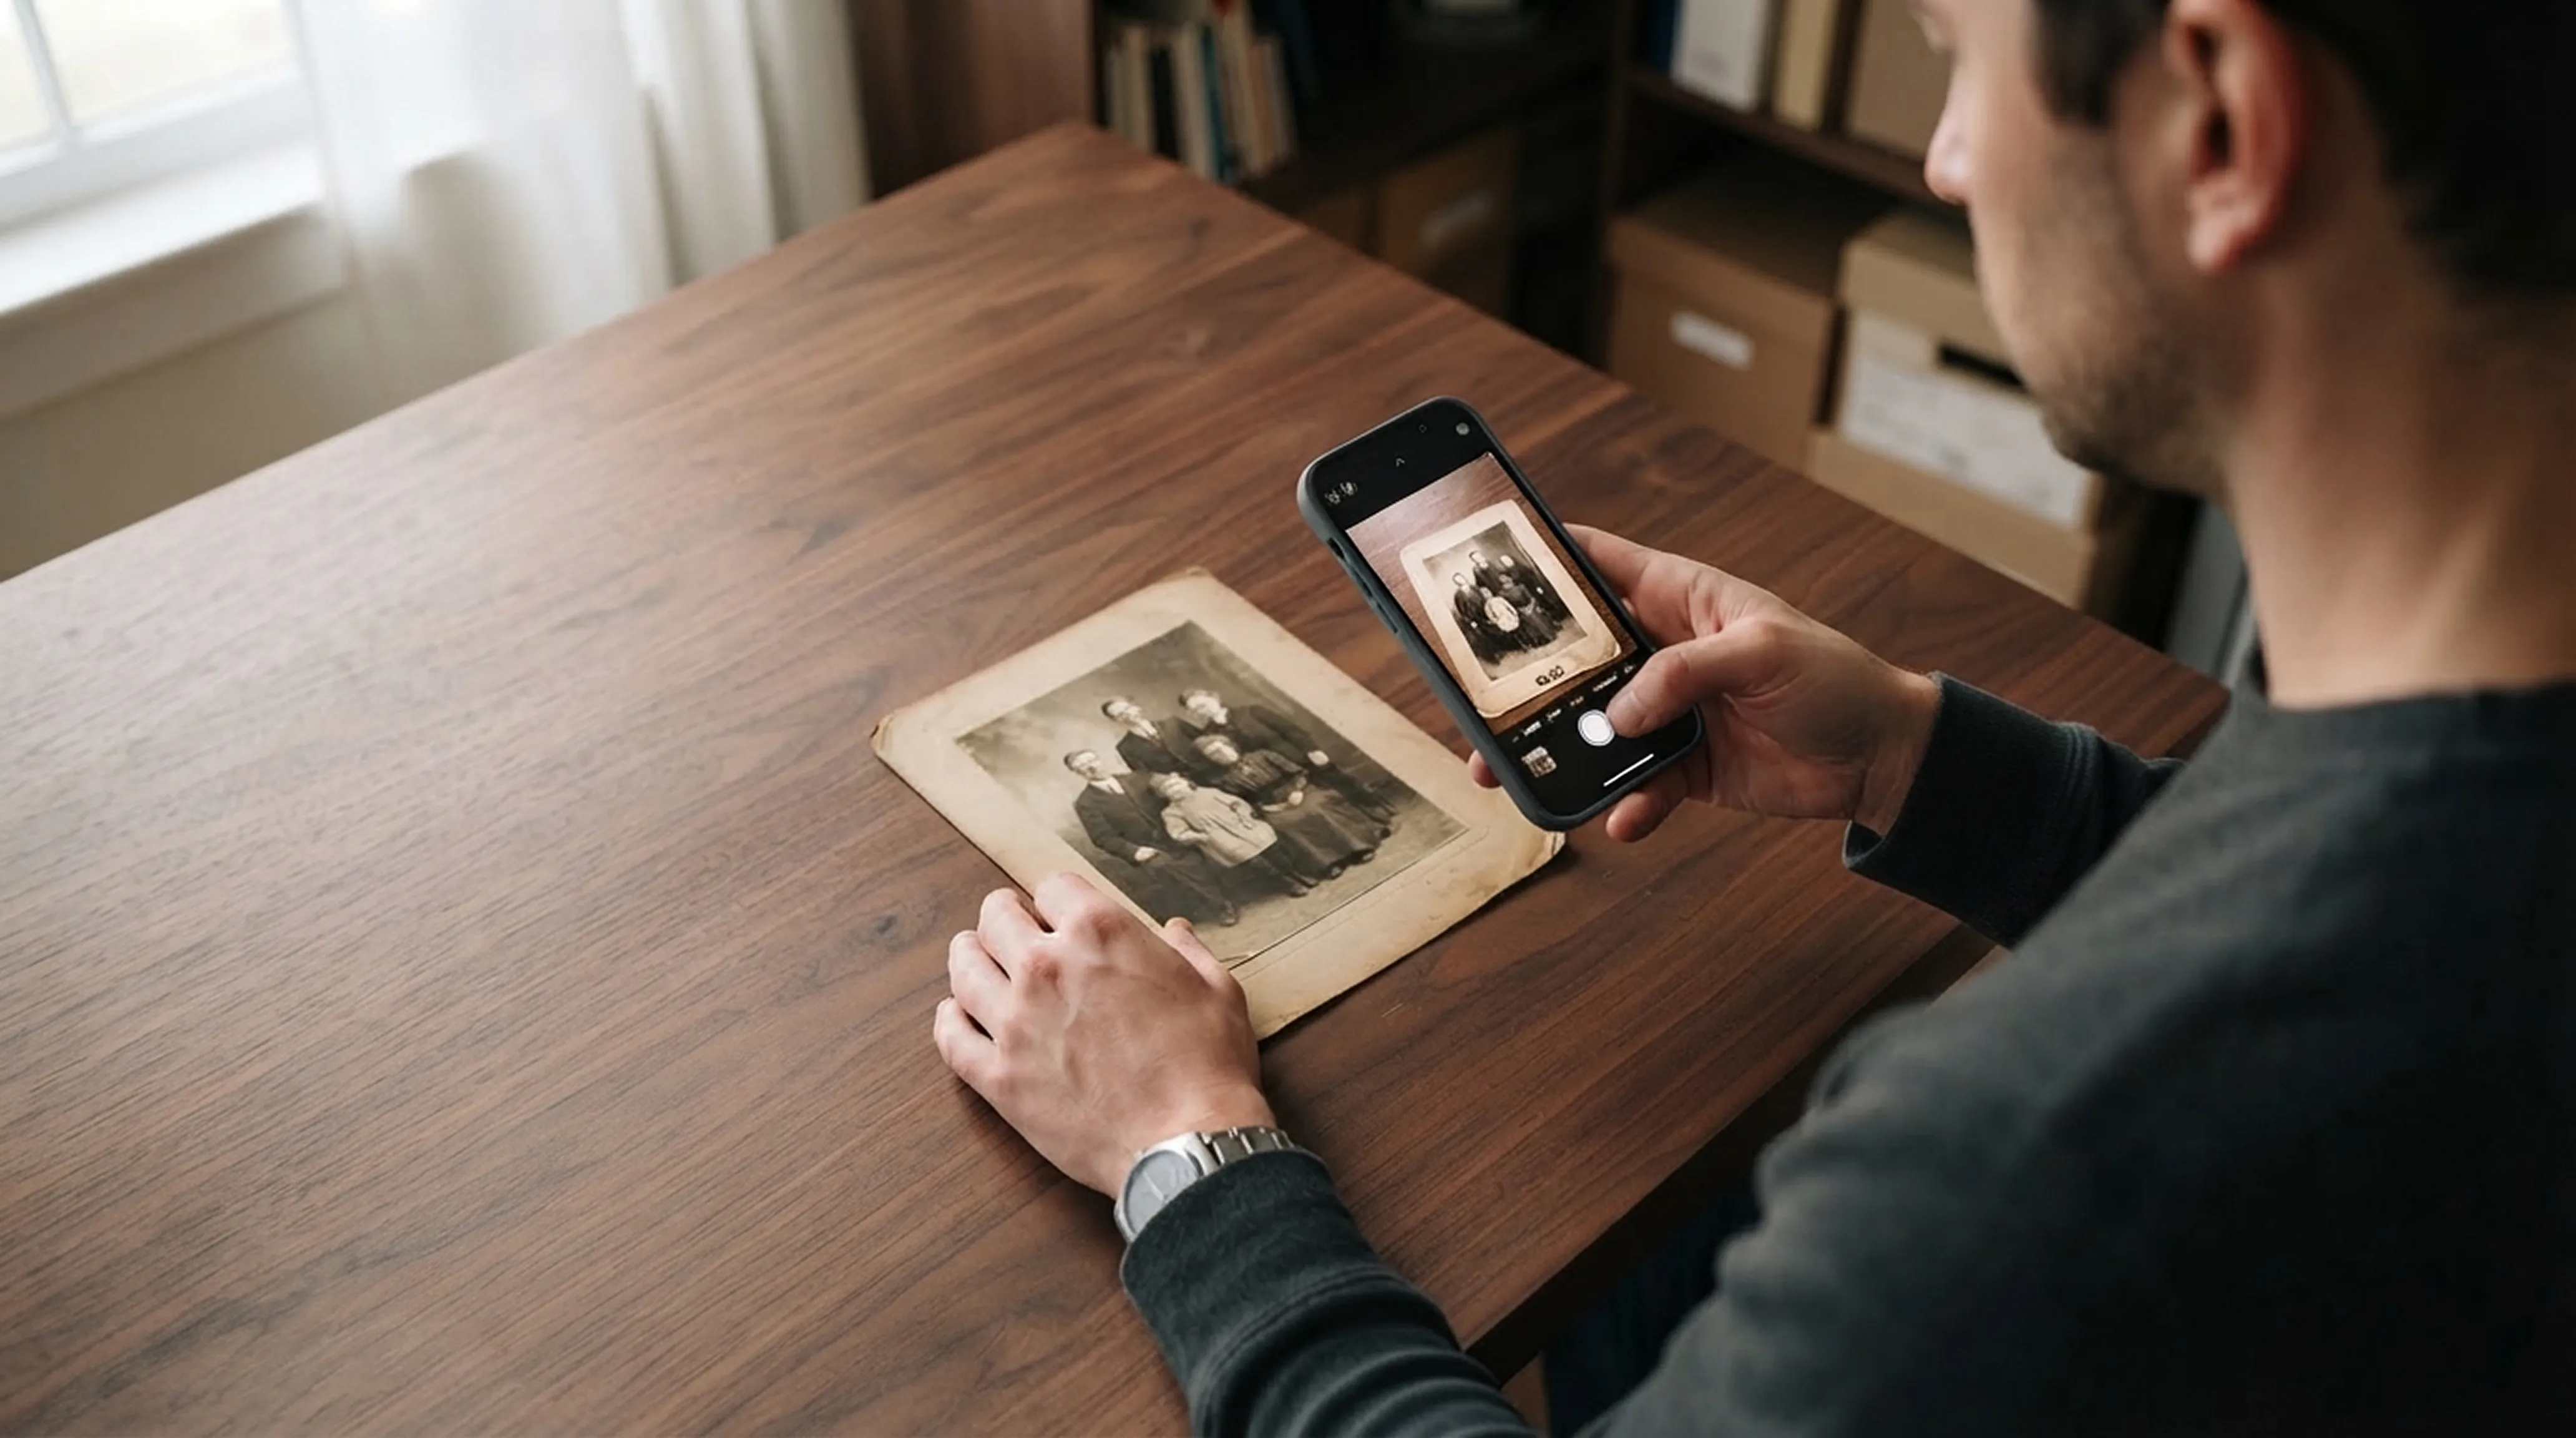
Scanning technique
How to Scan Old Photos with Your Phone Without Glare
Lighting tricks, angle secrets and lens cleaning practices for getting flatbed scanner quality from your smartphone.
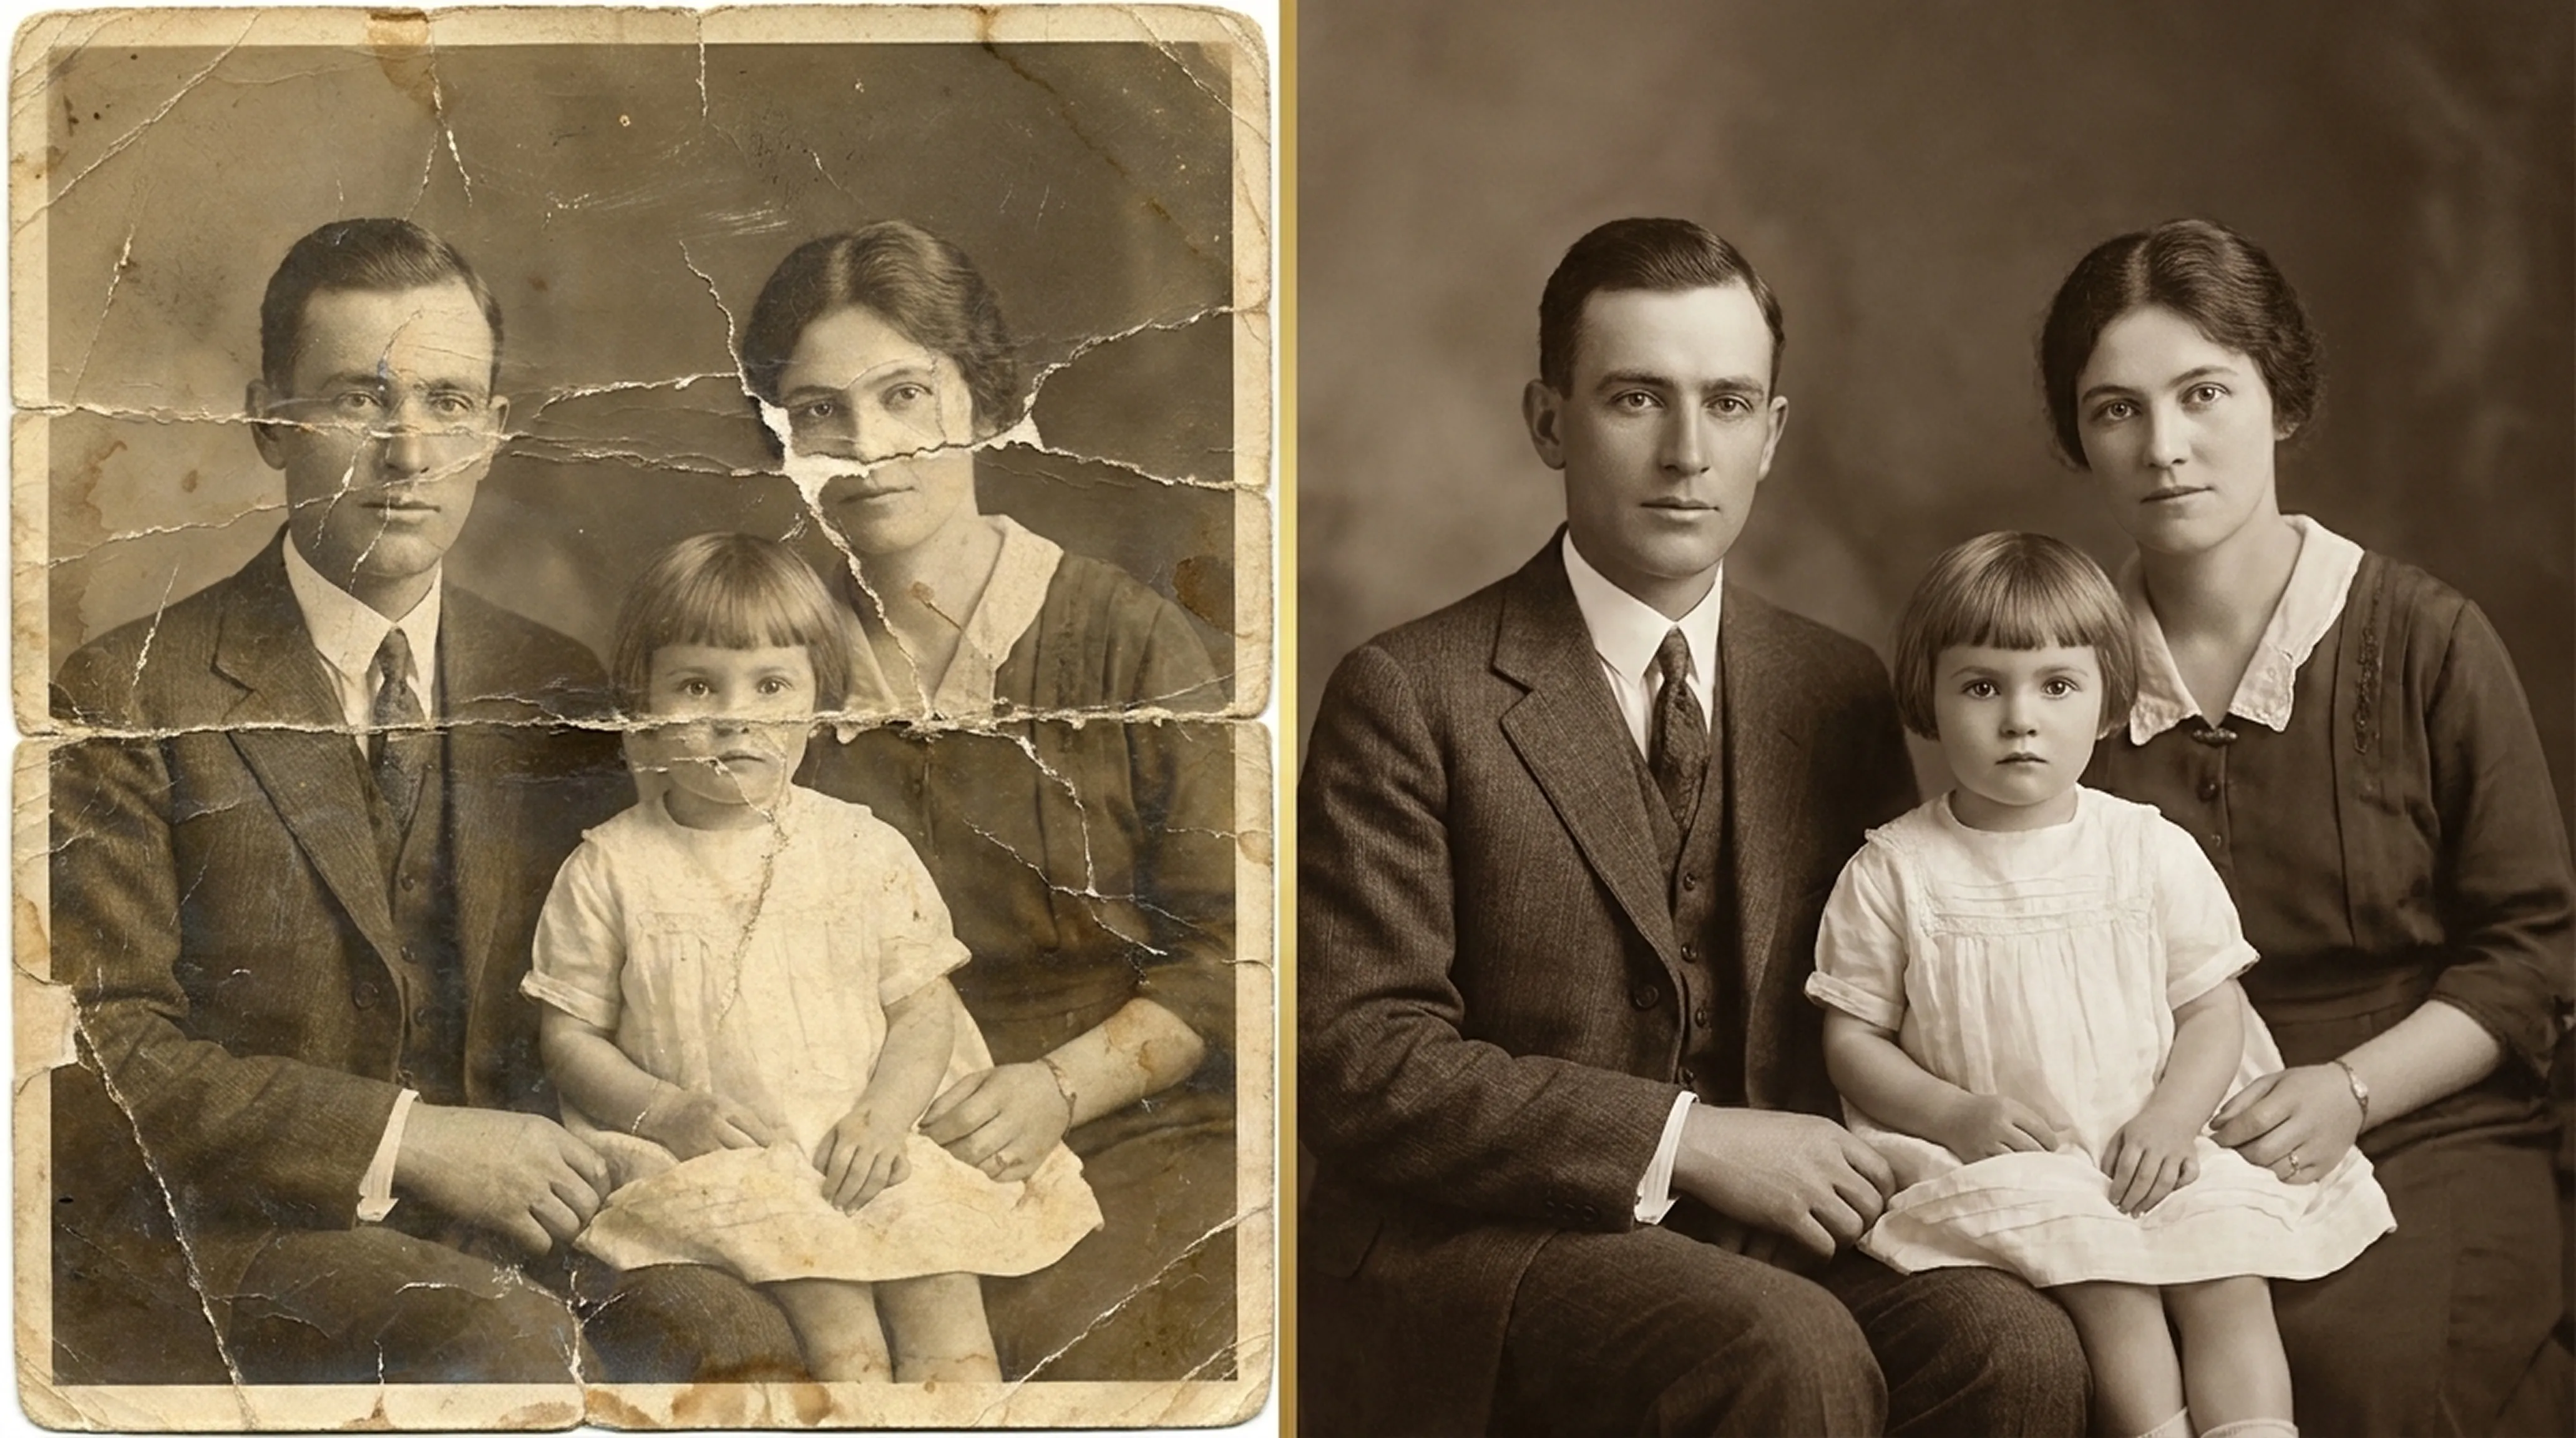
Beginner guide
How to Restore Old Photos: A Complete Beginner’s Guide
Step-by-step instructions on handling vintage prints, digitizing delicate negatives and using AI tools safely.
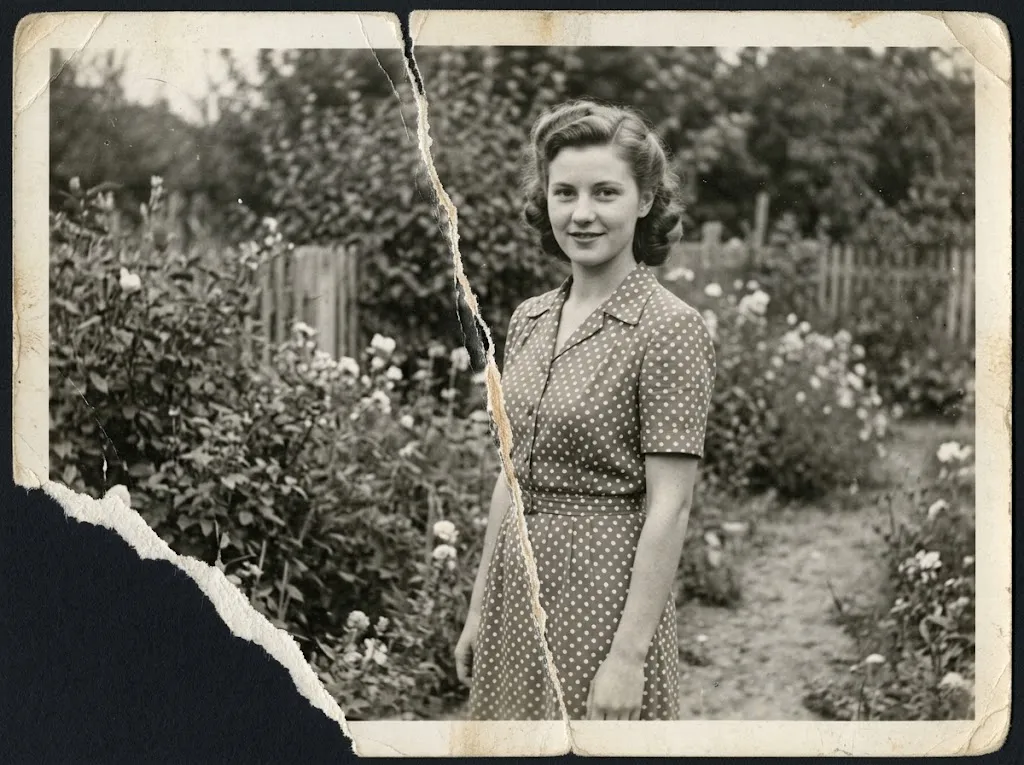 Before
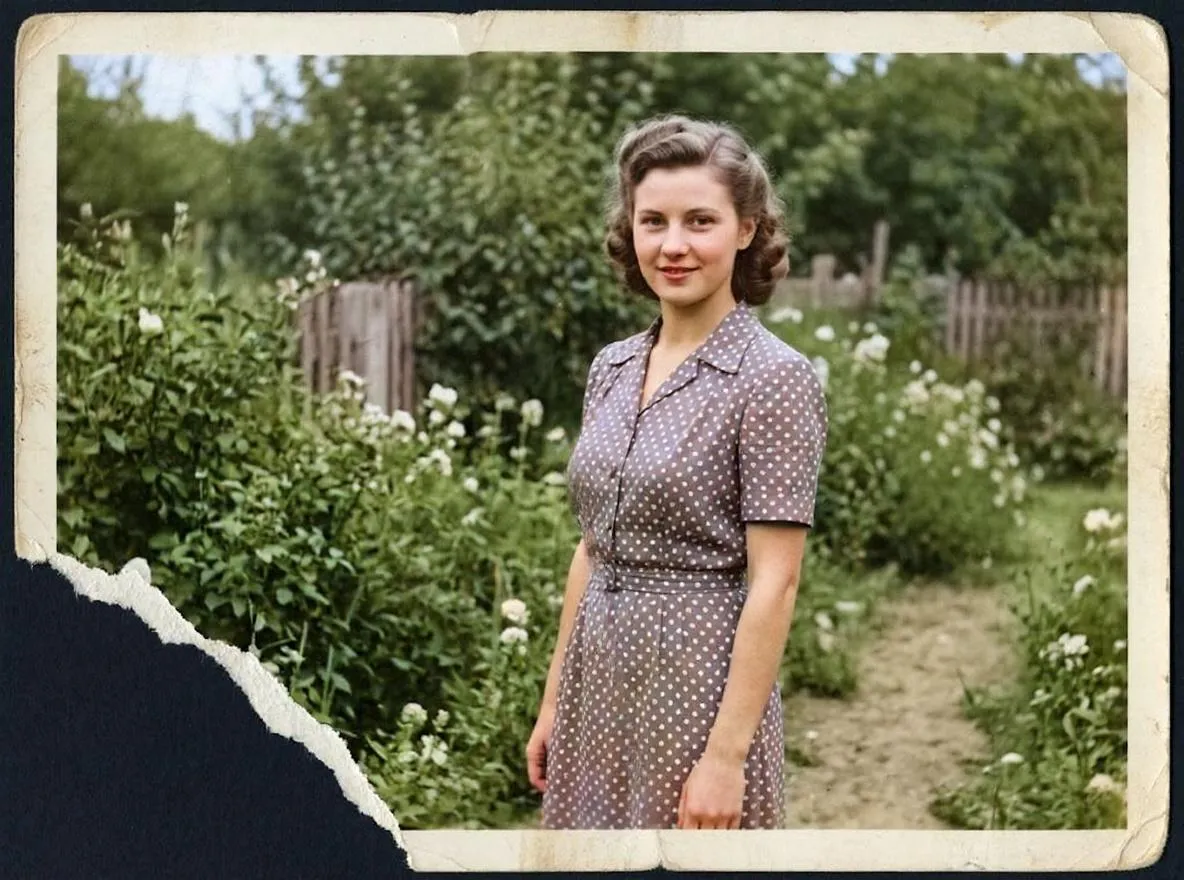 After
AfterRepair
How to Fix a Torn Photo Without Damaging It
Fix a torn photo safely: handle the pieces, photograph them as one image and repair the tear with AI, plus what to do when part of the photo is missing.