
Enhancement
How to Fix Dark Old Photos: Brighten Without Ruining Them
By the Retrocap Team · Updated
TL;DR
To fix dark old photos, start with a bright, glare-free scan, then brighten the shadows gradually. In Retrocap, the Enhance tool has a Fix Exposure option for this. Detail that was lost in pure black can't be brought back, but a lot of "too dark" photos hold more than you'd expect.
If you want to fix dark old photos, begin with a clean, evenly lit digital copy. Then brighten the shadows a little at a time. In Retrocap, open the Enhance tool and turn on Fix Exposure. You can also try some simple steps at home before using any app.
This guide walks you through the whole process. It also explains what can and can’t be rescued, so you know what to expect.
First, figure out why the photo looks dark
Not every dark photo has the same problem, and the fix depends on the cause.
- It was underexposed when taken. The camera didn’t let in enough light. This is very common with indoor snapshots, evening photos and pictures taken without a flash. The darkness is in the photo itself.
- The print has darkened with age. Paper and chemicals change over time. If you’d like to understand why, see our guide on why old photos fade, yellow and turn red.
- Your copy is the problem. A scan or phone photo taken in dim light, or at an angle with shadows falling across the print, makes a perfectly fine photo look dark.
The third cause is the easiest to fix, so check it first.
Step 1: Make a better copy before you edit anything
Editing a poor copy only gives you a brighter poor copy. Spend two minutes on the basics:
- Put the photo on a flat surface near a window in daylight. Avoid direct sun.
- Hold your phone directly above the print so it’s parallel to the surface. Keep your own shadow off the photo.
- Avoid the flash. It causes glare and makes the print look washed out in the middle and dark at the edges.
- Take the picture and check it on screen. Zoom in to confirm it’s sharp.
We cover this in more detail in how to scan old photos with your phone without glare. Compare the new copy with your first attempt. Sometimes this step alone solves most of the problem.
A gentle note on handling: hold prints by the edges and keep them dry. Don’t try to lighten or “revive” a physical print with heat, water or household products. If the original is valuable or fragile, ask a professional photo conservator.
Step 2: Try the basic brightness tools on your phone
Your phone’s built-in photo editor can help with a mildly dark photo. Look for these sliders:
- Exposure or Brightness lifts the whole picture.
- Shadows brightens only the darkest parts and leaves the highlights alone. This is usually the most useful one.
- Contrast can bring back depth if brightening makes the photo look flat.
Move each slider slowly, a little at a time. It’s better to stop slightly dark than to push too far. Over-brightening turns blacks into gray and makes the picture look foggy and unnatural.
Step 3: Use Fix Exposure in Retrocap
If you’d rather not fiddle with sliders, Retrocap’s Enhance tool has an option built for this. Learn more on the Enhance photo quality page.
- Open Retrocap and choose Enhance.
- Select your photo, preferably the better copy from Step 1.
- Turn on Fix Exposure.
- If the colors also look off, you can try Color Correction.
- If it’s a little soft, Sharpen & Deblur can help. For a small photo you plan to print, Upscale x2 is available.
- Start the process. Results usually arrive in seconds.
- Compare the result with your original using the before/after view, then save it to your photo library or share it.
Retrocap needs an internet connection, because photos are sent securely to an AI processing partner and processed on cloud servers. Your photos are used only to create your results and are never sold. You can delete your photos and data from the app at any time.
Retrocap is free to download. Enhancing uses credits (called tokens in the app), which come with a subscription or with one-time token packs.
Pick one change at a time
It’s tempting to switch on everything at once. Try only Fix Exposure first and look at the result. Then add other options if the photo still needs them. That way you can tell which setting did what, and you avoid an over-processed look.
What if the photo is dark and damaged?
Dark photos often have other problems too, such as scratches, creases or stains. Once a photo is properly lit, these flaws can become more visible. That’s normal. It means the lighting fix is working.
For those problems, use the Restore tool. Choose the Standard level for light or moderate damage, and Deep if the photo has long tears, several pieces, creases, stains or a strong color cast. Options include Fix Scratches & Tears, Enhance Faces and Remove Stains. Trying Standard first and switching to Deep only if needed is a sensible approach.
Our complete beginner’s guide to restoring old photos covers the full process. If the photo is both dark and pale, our guide on restoring faded photos and fixing color casts is also worth reading.
What can’t be fixed: the honest limits
Fixing exposure is not magic. Here’s what to expect.
Pure black has no hidden detail. If part of the picture is completely black, such as a face in deep shadow, there’s nothing left to uncover. Brightening a dark photo reveals detail that is faint but still present. It can’t recreate detail that was never recorded. AI can sometimes rebuild missing areas from the surrounding detail, but completely missing parts, like a lost face, can’t always be recovered.
Faces can change slightly. When faces are small, very dark or blurry, AI may slightly alter facial features. Always compare the result with the original, especially if the photo shows someone you know well.
Noise can appear. Brightening dark areas also brightens grain. A little grain looks natural and even adds a pleasing, old-photo feel. A lot can distract.
A sharper, more evenly lit copy gives better results. This is why Step 1 matters so much.
Tips for a natural-looking result
- Aim for “readable,” not “bright.” A candlelit or evening scene should still look like evening.
- Check the whole picture. Look at faces, clothing and backgrounds. Skies and white shirts can become too bright when shadows are lifted.
- Zoom in. Check the faces at full size before you save.
- Keep your original. Never delete the first scan or the physical print. You can always try again.
- Respect the people in the photo. If you plan to share a photo online, especially one showing relatives or other people, consider whether they’d be comfortable with it.
After the fix: saving and sharing
Once you’re happy with the lighting, save the result to your phone’s photo library. Retrocap results are saved without a watermark, in high resolution suitable for sharing and printing at common photo sizes. Keep a copy somewhere safe too, along with your original scan.
If there’s a dark photo of a loved one sitting in a drawer, a better copy and a gentle exposure fix may be all it needs. When you’re ready, you can try Retrocap with that photo.
Frequently asked questions
Why are my old photos so dark?
Most often the photo was underexposed when it was taken, for example indoors without a flash or on a gloomy day. Sometimes the print has darkened with age, or your scan or phone picture was taken in poor light and made it look darker than the print really is.
Can every dark photo be fixed?
No. If an area is pure black, there is no detail left to bring out. Fixing exposure works best when the shadows are dark but still hold faint shapes and textures.
Should I brighten the photo before or after restoring it?
Brighten first, then restore if heavy damage remains. Light damage like small scratches or fading often becomes easier to judge once the photo is evenly lit.
Will brightening a photo make it grainy?
It can. Lifting dark areas also lifts noise and film grain that were hiding in the shadows. Brighten in small steps and stop when the picture looks natural rather than chasing a perfectly bright result.
Does Retrocap work offline?
No. Retrocap needs an internet connection because photos are processed on cloud servers, not on your phone.
Related guides
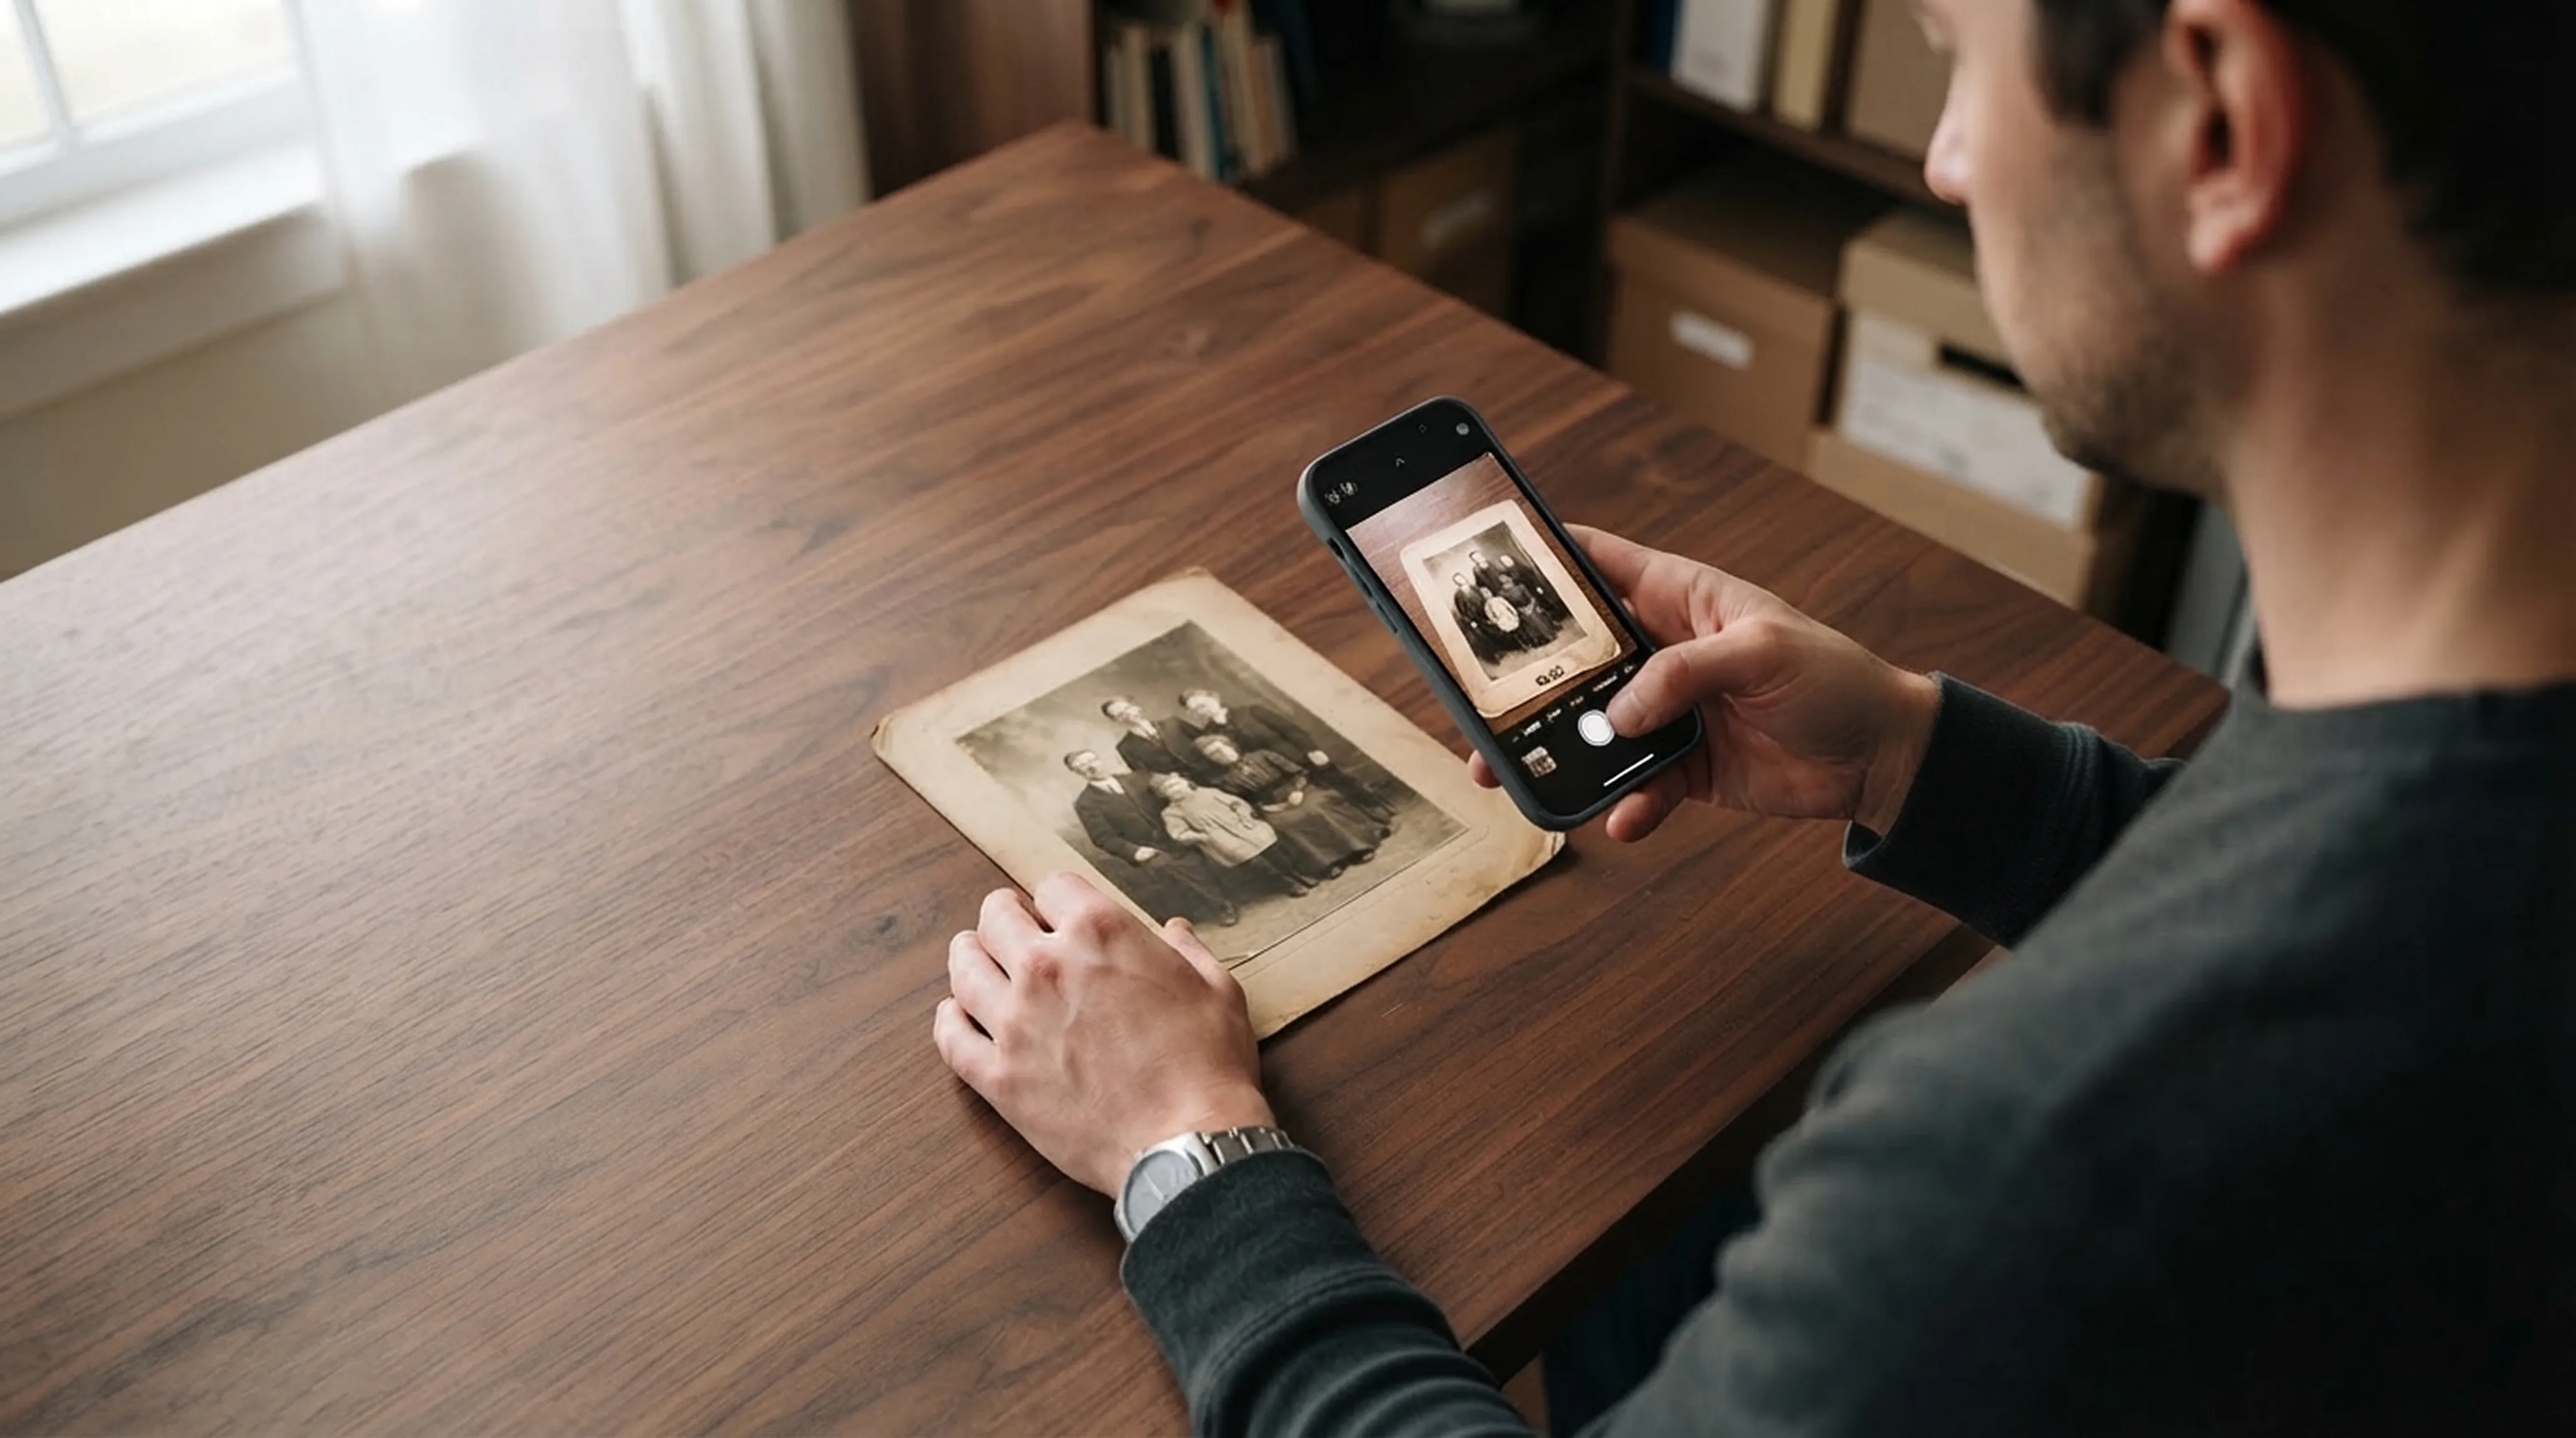
Scanning technique
How to Scan Old Photos with Your Phone Without Glare
Lighting tricks, angle secrets and lens cleaning practices for getting flatbed scanner quality from your smartphone.
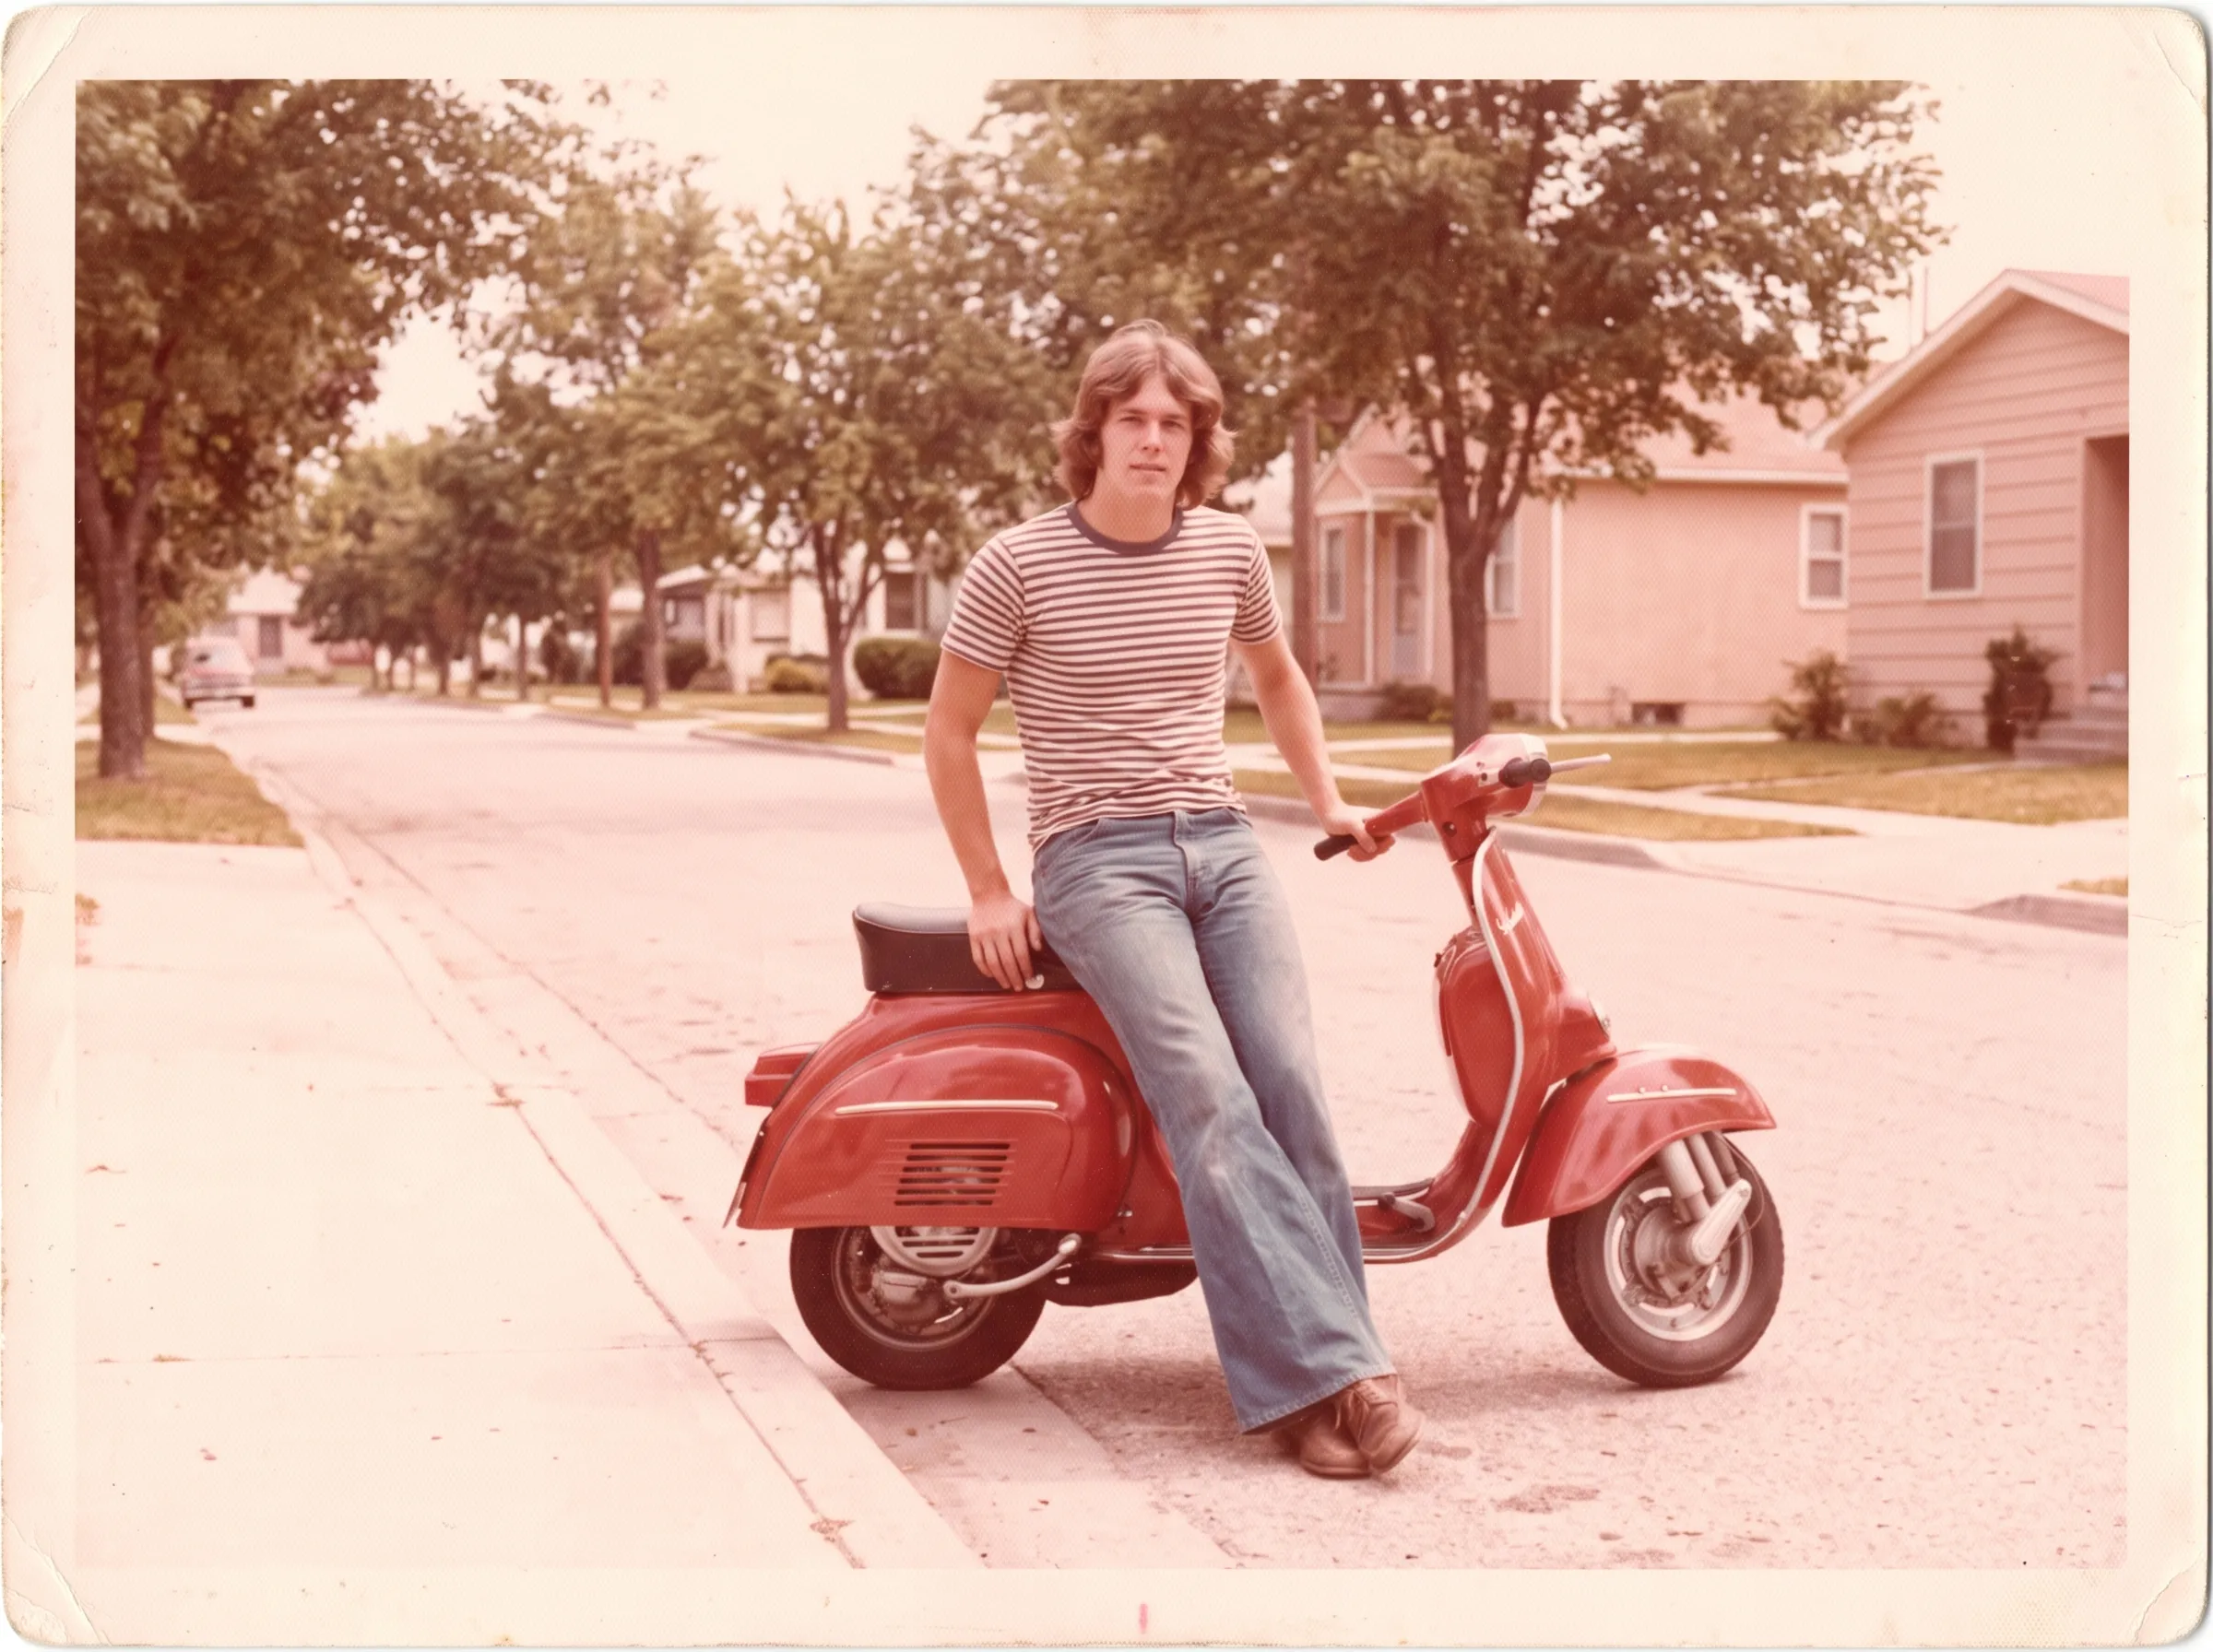 Before
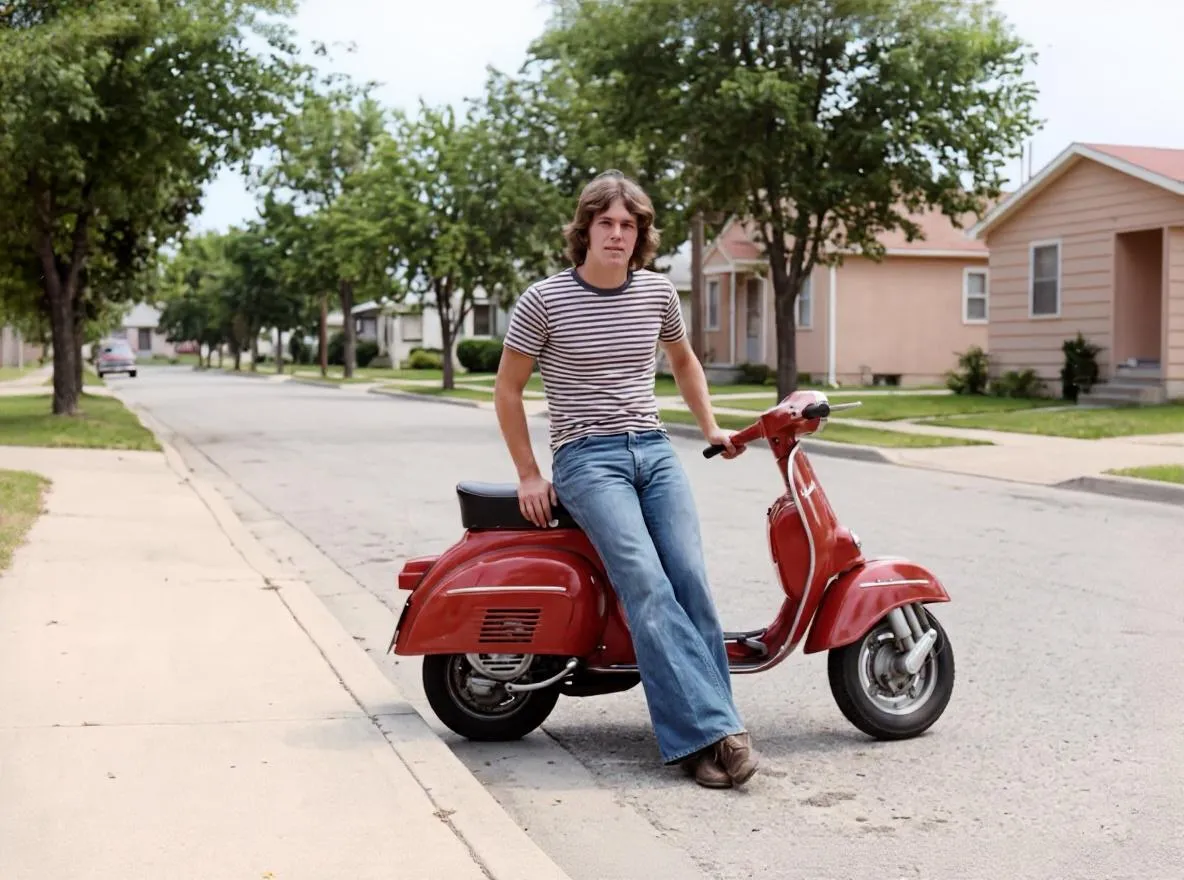 After
Restoration
How to Restore Faded Photos and Fix Color Casts
Why old photos fade and turn red, yellow or pale, and how to bring back contrast and natural color with AI restoration and color correction.
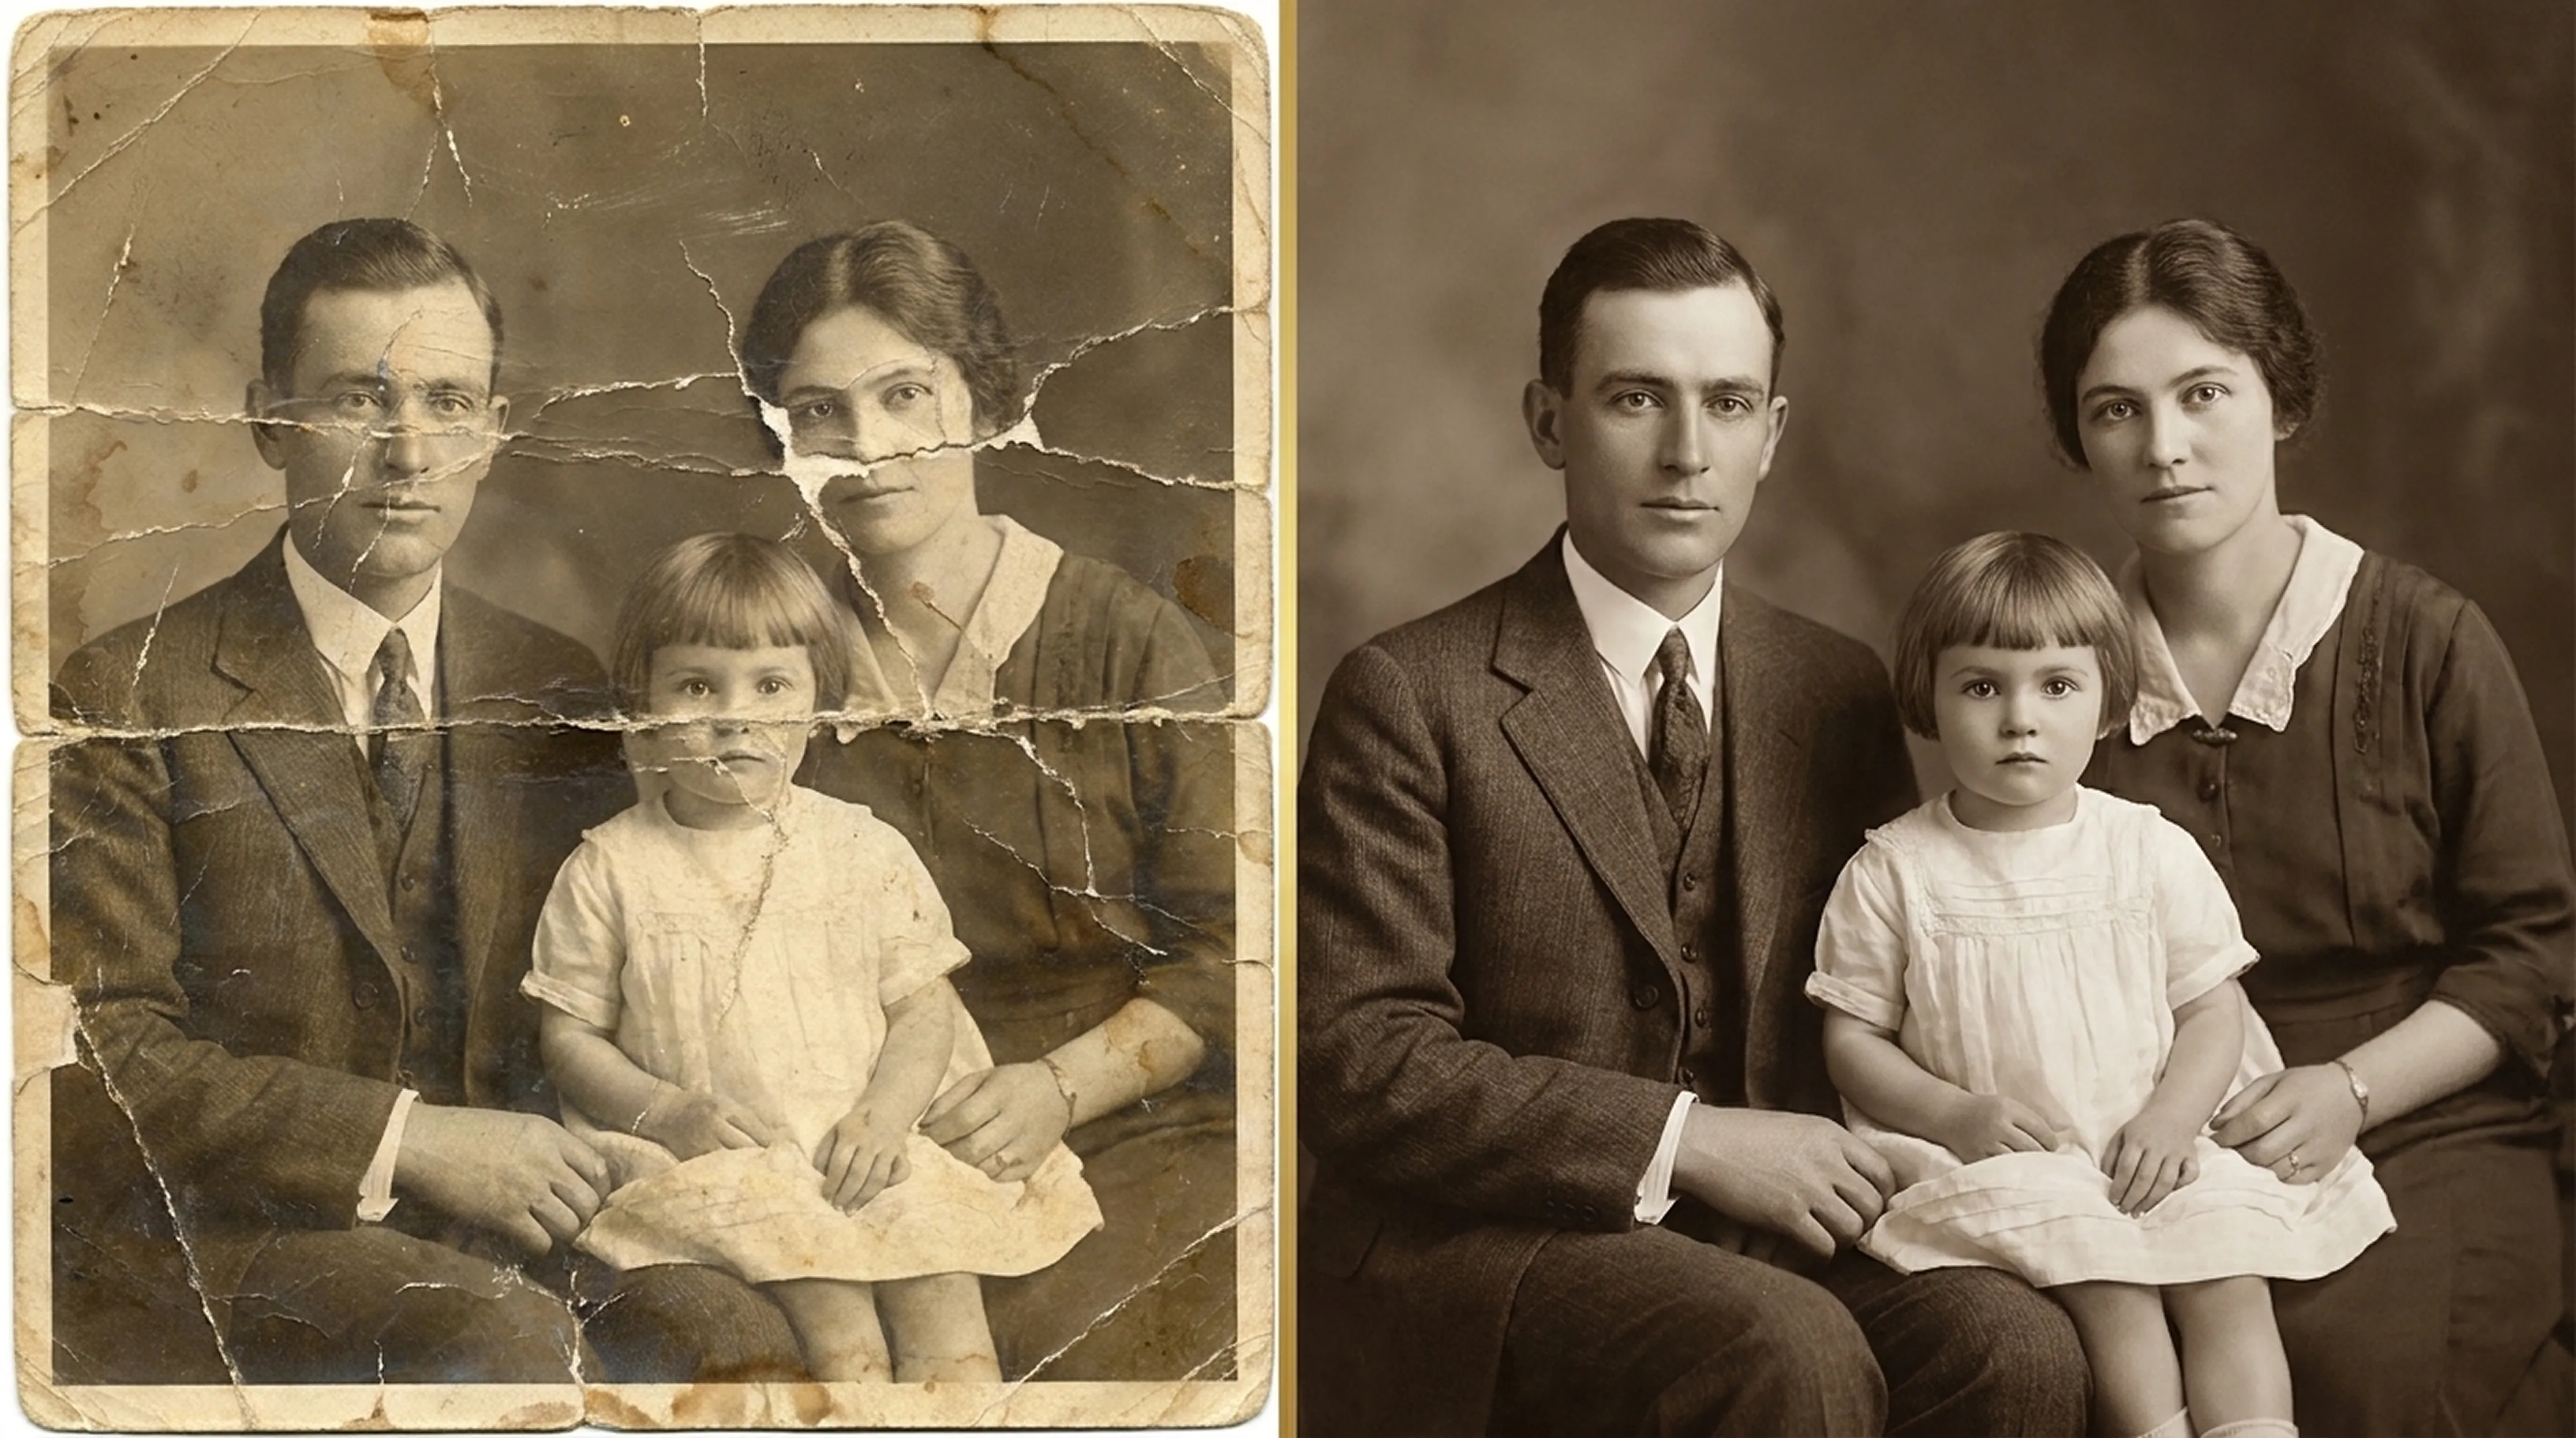
Beginner guide
How to Restore Old Photos: A Complete Beginner’s Guide
Step-by-step instructions on handling vintage prints, digitizing delicate negatives and using AI tools safely.