
Damaged Photo Restoration: Repair Scratches, Tears, Stains and Fading
Most damaged photos can be repaired digitally without touching the original again. Photograph or scan the print, then use Retrocap's Restore tool on iPhone or Android: Fix Scratches & Tears repairs cracks, creases and tears, Remove Stains cleans spots and water marks, and the Deep level handles heavy damage. Small missing areas can be rebuilt; large missing parts, especially faces, can only be estimated.


Free to download · iPhone & Android · Private
How to restore a damaged photo
- 01
Capture the photo safely
Handle the print as little as possible. Lay it flat and photograph it in soft daylight from directly above, or scan it at a high resolution.
- 02
Restore with the right options
Open Restore, choose Standard for light damage or Deep for heavy damage, and turn on Fix Scratches & Tears, Remove Stains or Enhance Faces as needed.
- 03
Compare and save
Use the before-and-after view to check every repaired area, especially faces, then save the restored copy to your phone.
Before and after
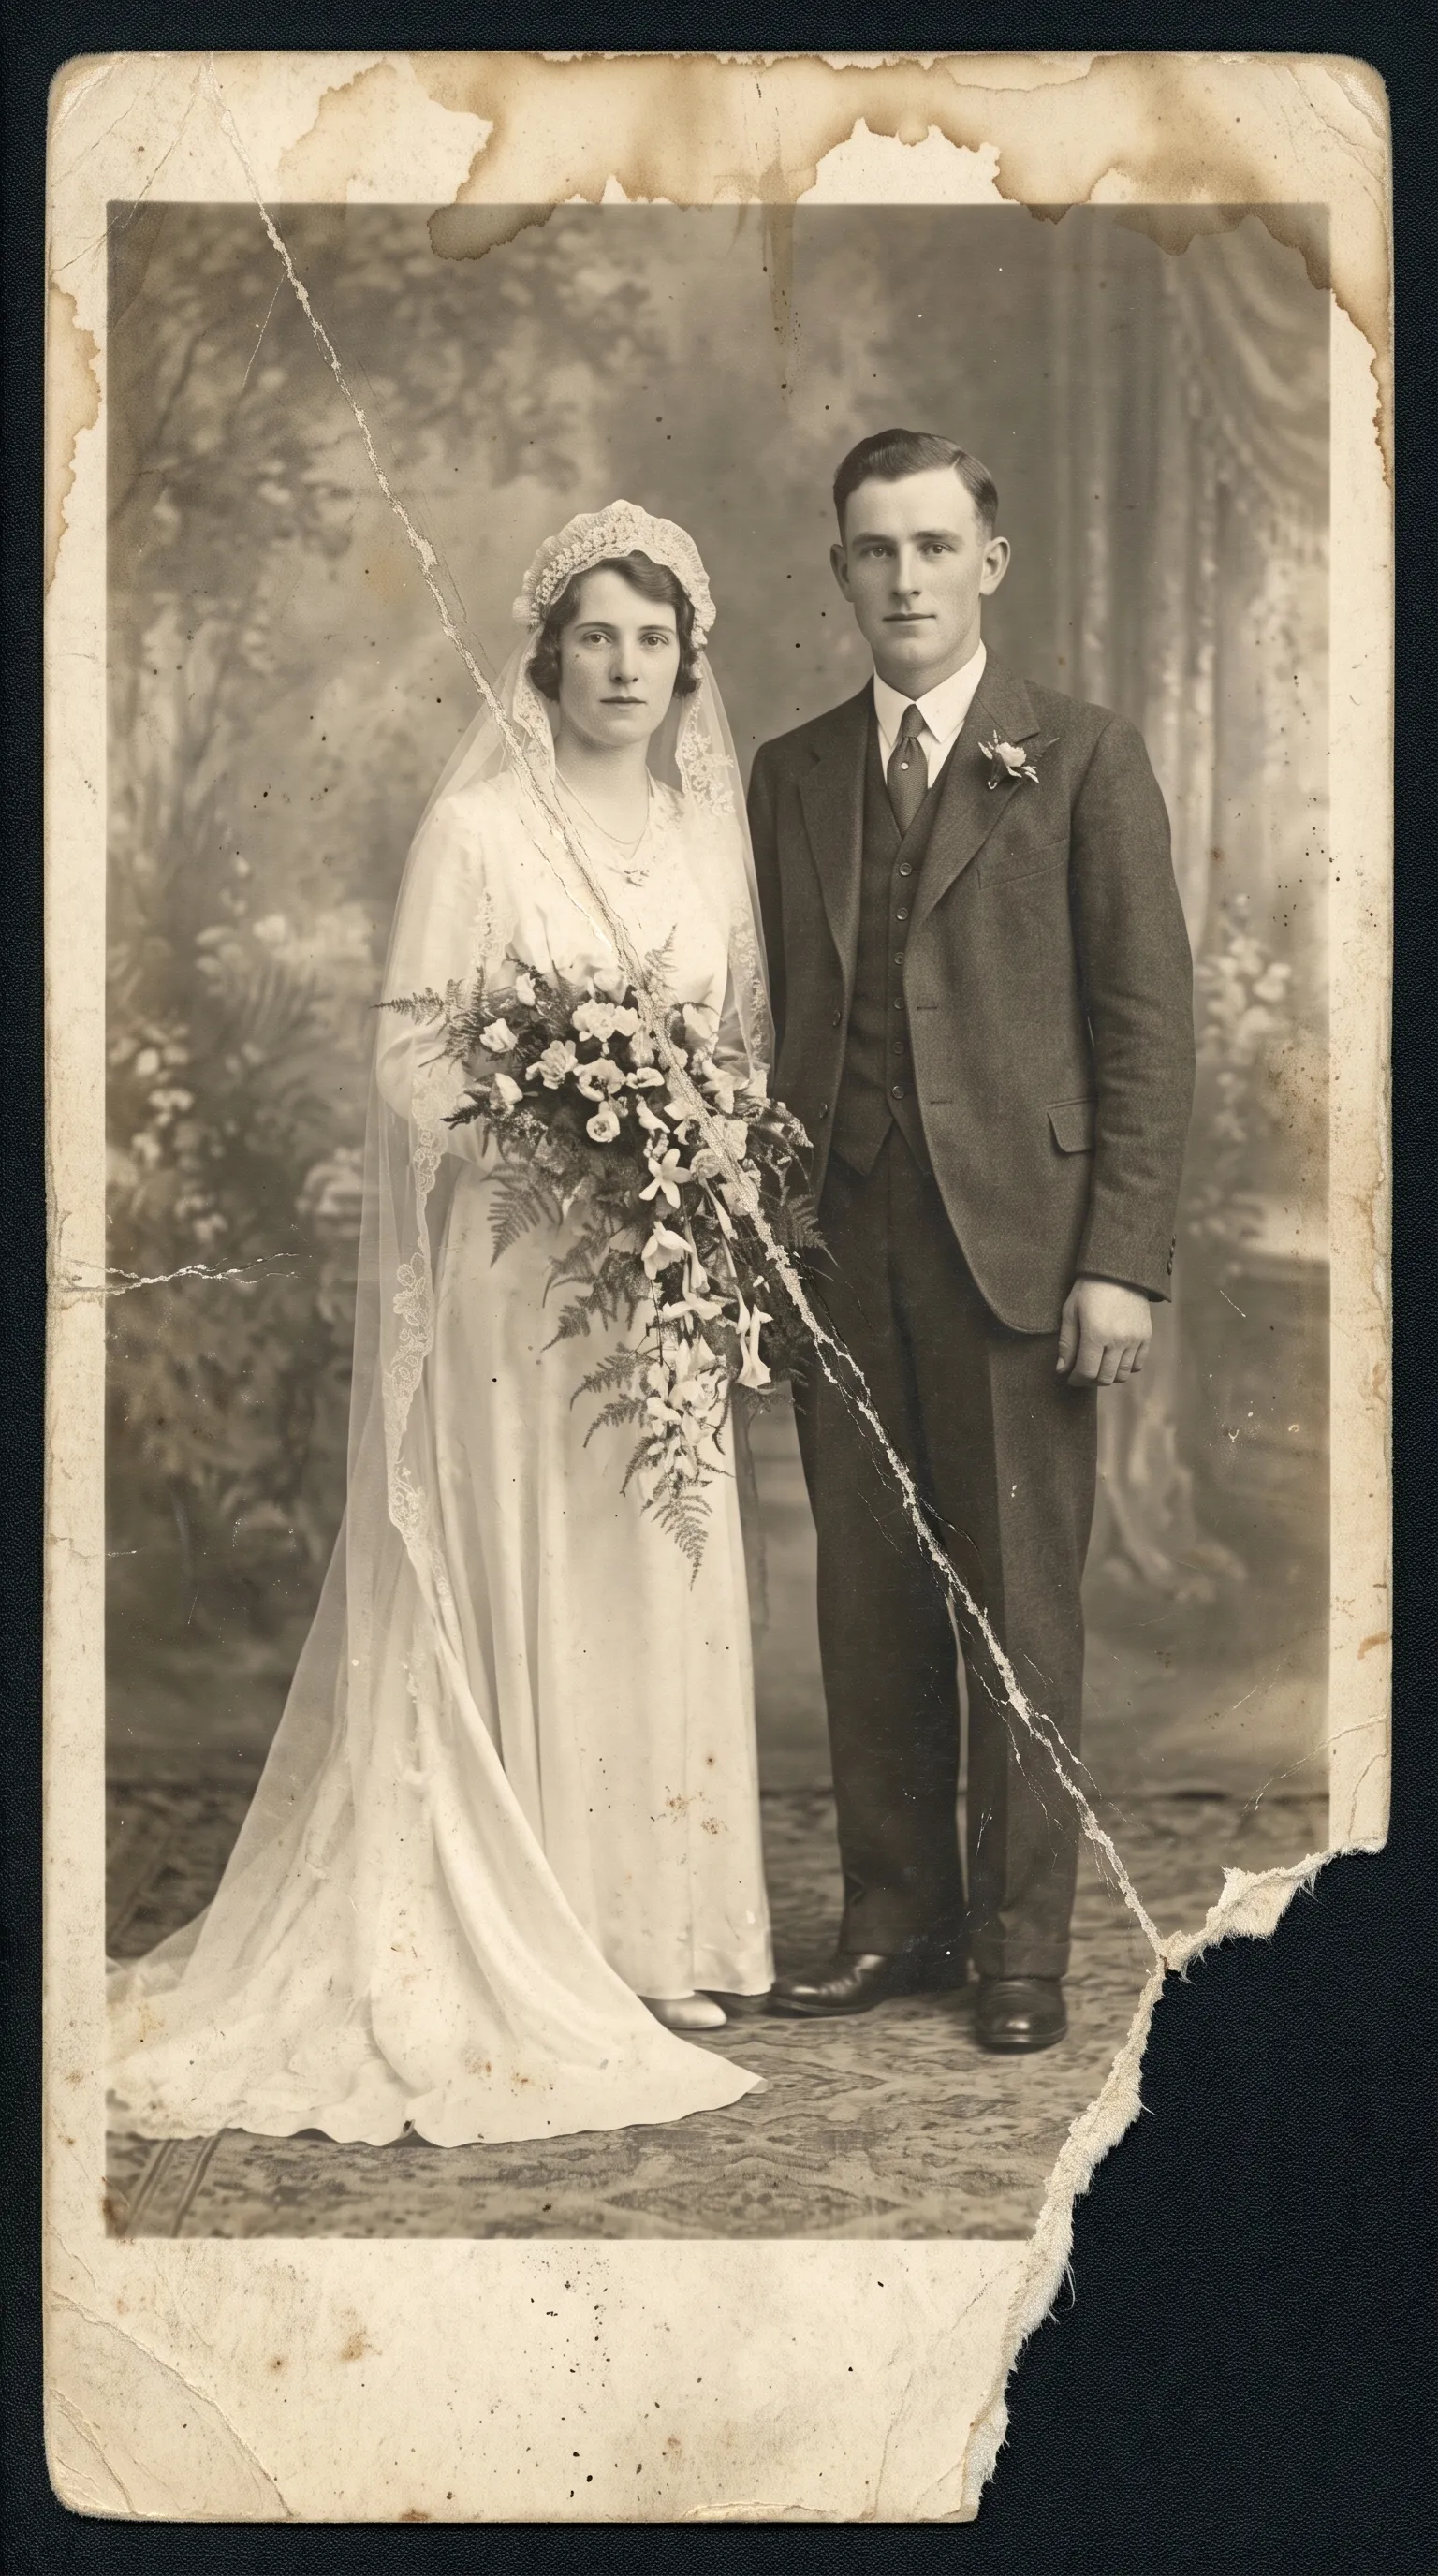
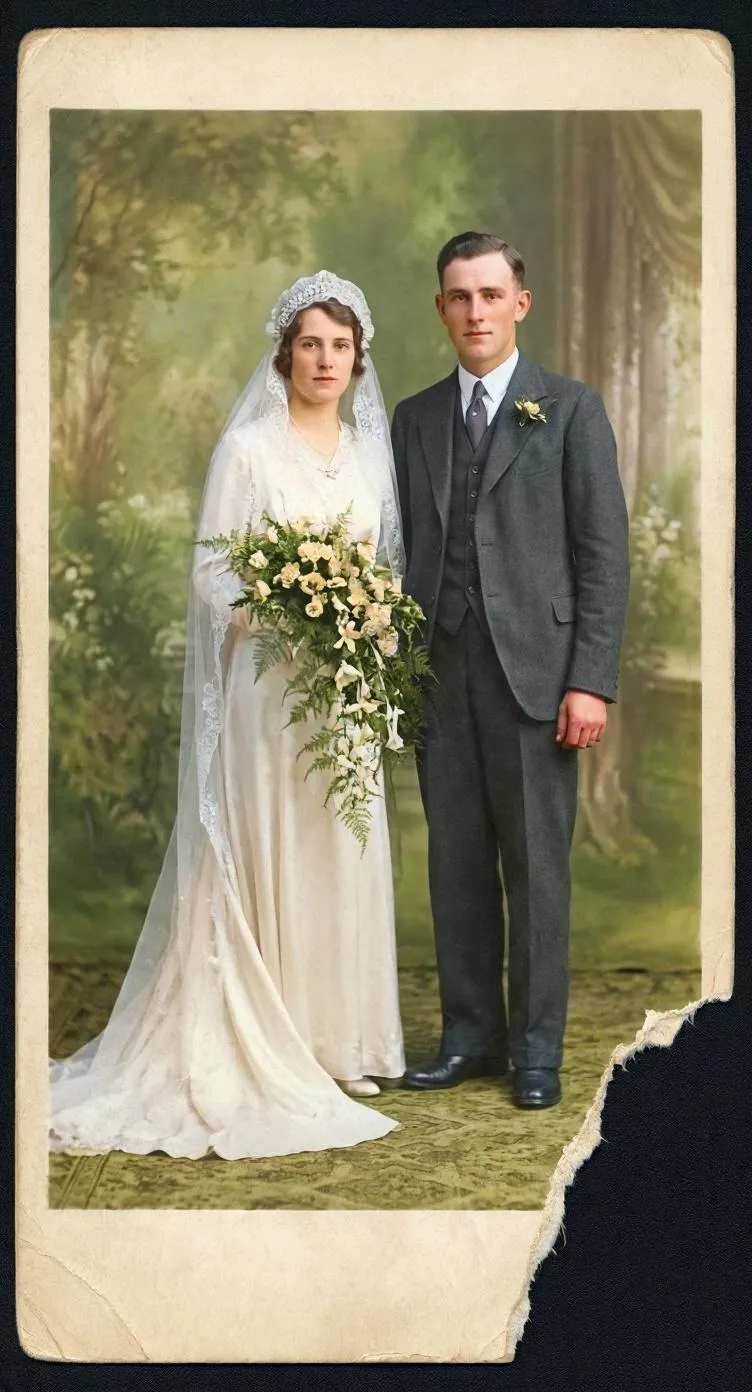
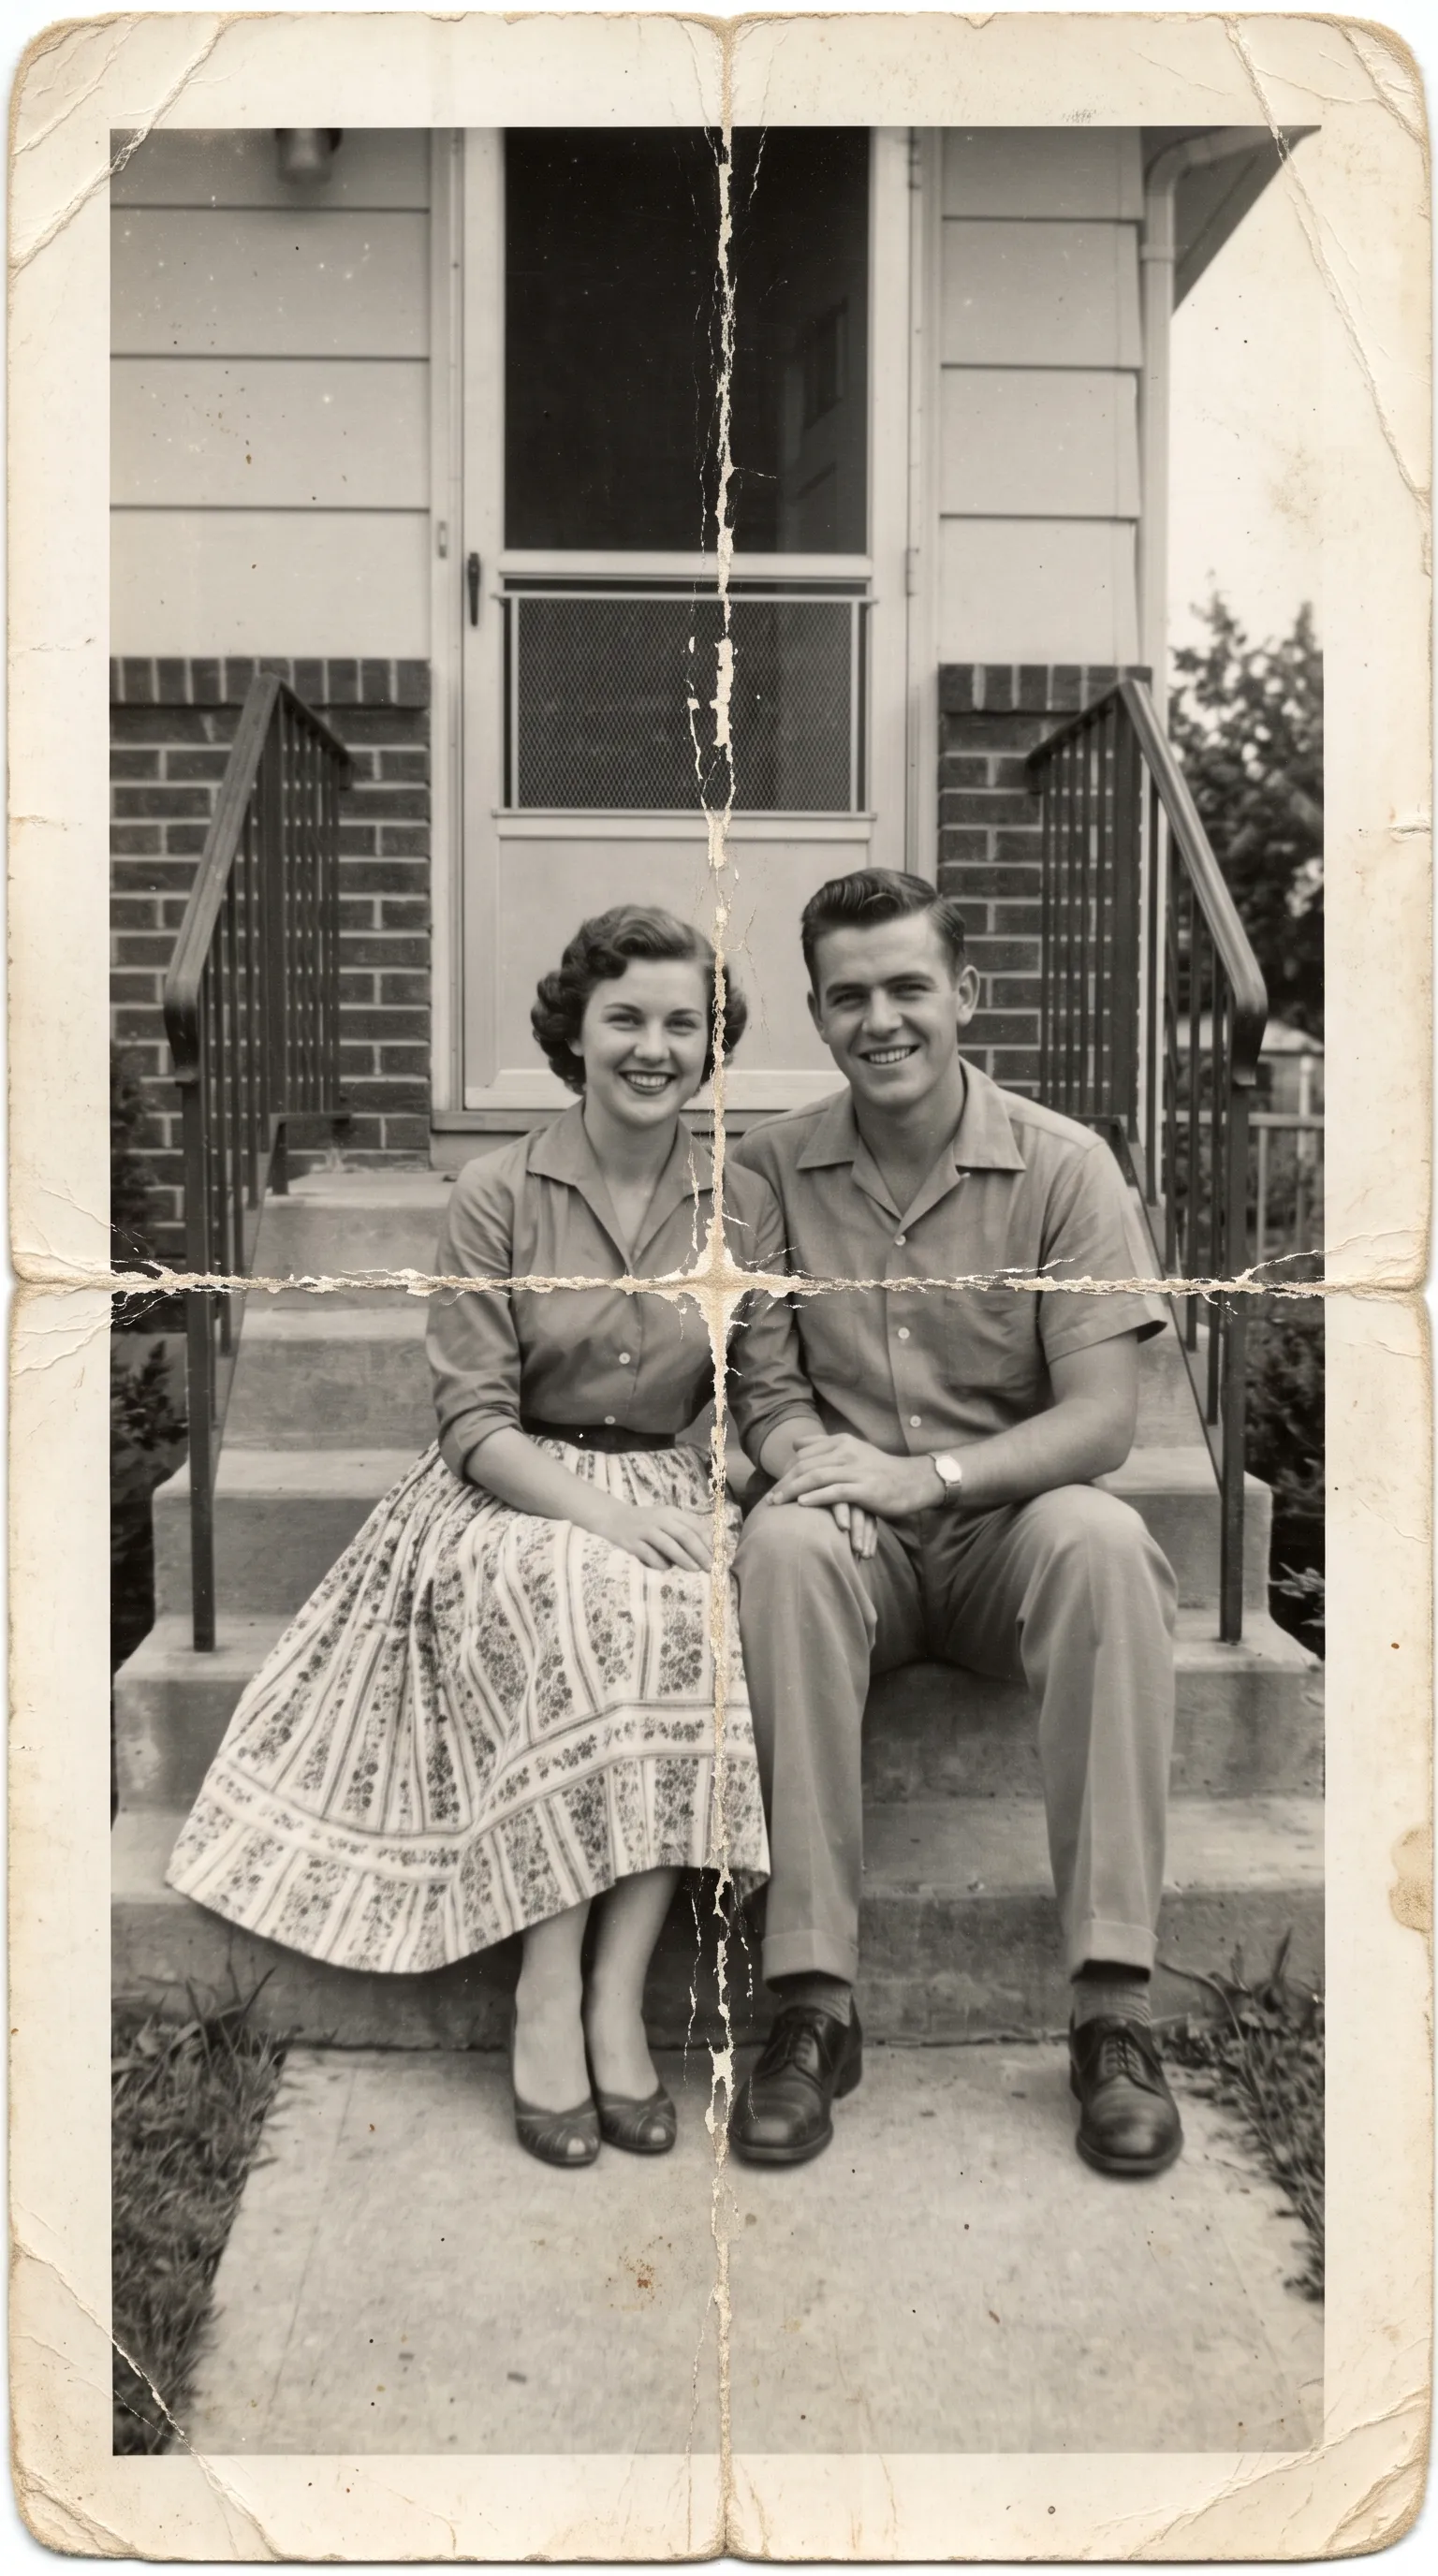
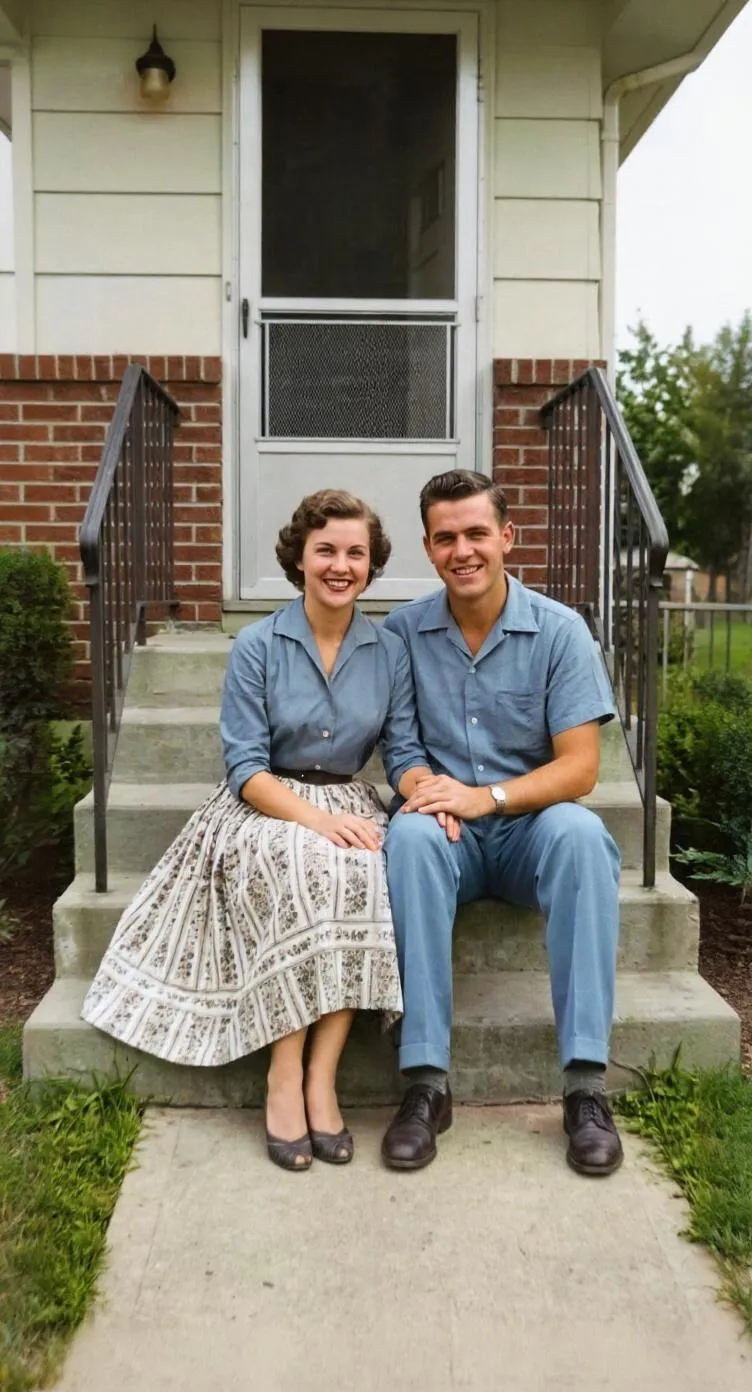
Find your type of damage
Different kinds of damage need slightly different handling. Find yours below; each guide explains the full process step by step.
| Type of damage | What it looks like | Retrocap setting |
|---|---|---|
| Scratches and dust | Fine white lines, specks, cracks in the surface | Restore with Fix Scratches & Tears |
| Creases and folds | Lines where the photo was folded or bent | Restore with Fix Scratches & Tears, Deep for deep creases |
| Tears and missing pieces | Ripped edges, separate pieces, missing corners | Restore with Fix Scratches & Tears, Deep |
| Water damage | Stains, rings, cloudy or lifted areas | Restore with Remove Stains, Deep |
| Stains and spots | Coffee marks, tape residue, brown spots | Restore with Remove Stains |
| Fading and color cast | Pale, washed-out, yellow or red tones | Restore, then Enhance with Color Correction |
| Blur | Soft faces and details | Enhance with Sharpen & Deblur, Enhance Faces |
Scratches, dust and creases
Fine scratches, dust and fold lines are the most common damage and usually the easiest to repair. See our page on removing scratches from photos.
Tears and missing pieces
Photograph the pieces together as one image and let Restore close the gaps. Our guide on how to fix a torn photo explains how to handle the pieces safely.
Water damage, stains and mold
Water damage often leaves stains, rings and cloudy patches. Let the print dry completely before you photograph it, and don’t try to clean it with water or chemicals. Read how to restore water-damaged photos. Mold can be harmful, so wear gloves and ask a conservator about valuable prints.
Fading and color shifts
Old prints fade and often turn yellow, red or green. Restore brings back contrast, and Color Correction in Enhance helps with color casts. See how to restore faded photos.
Blurry faces and details
If the photo is soft or out of focus, use Sharpen & Deblur and Enhance Faces. Our guide on fixing blurry photos has more tips.
What AI can and can’t repair
AI restoration works by recognizing damage and rebuilding it from the surrounding detail. It repairs scratches, creases, stains and fading very well. When large parts of a photo are missing, it has to estimate what was there, and the result may not match the original. Always compare the restored photo with the original, especially faces.
For the best results, start with a sharp, evenly lit copy of the print. Our guide on scanning old photos with your phone shows how. Then open the Restore tool and choose the options that match your damage.
Tools you'll use
Restore Old Photos
Repair fading, scratches, tears and stains in one tap.
Remove Scratches & Tears
Clean up scratches, dust, creases, tears and stains.
Enhance Photo Quality
Sharpen blurry, low-resolution photos and upscale them.
Enhance Faces
Recover detail in blurry faces, even in group photos.
Tips for damaged prints
- Don't tape, glue or flatten a damaged print by force. Repair the digital copy and store the original in an acid-free sleeve.
- Never use water, solvents or household cleaners on a photo. For valuable or fragile originals, ask a professional conservator.
- Photograph torn pieces together on a dark surface, pushed gently into place, so the repair has the whole picture to work with.
- Start with Standard restoration and switch to Deep only if damage remains. Lighter settings keep faces closer to the original.
- Keep the unrestored scan too, so you can always go back to the original.
Frequently asked questions
Can badly damaged photos be restored?
Yes, in most cases. Scratches, creases, tears, stains, water marks and fading can usually be repaired well. If parts of the photo are missing, AI rebuilds small areas from the surrounding detail, but large missing areas, especially faces, can only be estimated.
Which Retrocap setting should I use for a damaged photo?
Use Restore. Choose Standard for light damage and Deep for heavy damage, and turn on Fix Scratches & Tears for cracks and tears, Remove Stains for spots and water marks, and Enhance Faces if a face is damaged or blurry.
Will restoring a damaged photo change the original?
No. Retrocap works on a digital copy that you photograph or scan. The original print is not touched.
Should I clean a damaged photo before photographing it?
Only remove loose dust gently with a soft, dry brush. Don't use water or cleaning products. For mold, heavy water damage or valuable originals, ask a professional conservator before handling the print.
Can I restore a photo that is torn into pieces?
Yes. Lay the pieces together on a dark, flat surface, photograph them as one image and use Restore with Fix Scratches & Tears turned on. Deep restoration helps with long tears and several pieces.
Your family’s story deserves to be seen again.
Don’t let precious memories fade inside shoe boxes and dusty albums. Restore, colorize and cherish them today.