
Repair
How to Restore Mold Damaged Photos Safely
By the Retrocap Team · Updated
TL;DR
To restore mold damaged photos, first protect yourself and handle the print as little as possible. Don't try to clean it with liquids or chemicals. Photograph it flat, then repair the stains on the digital copy with Restore and Remove Stains. For valuable or heavily affected originals, ask a professional conservator.
To restore mold damaged photos, start by protecting yourself and handling the print as little as possible. Don’t try to wash or wipe it. Instead, photograph it flat and repair the stains on the digital copy. This guide walks you through each stage, from safe handling to the phone-based repair.
A quick note on what this guide does and doesn’t do. Retrocap works on a picture of your photo. It can improve how the image looks, but it does not clean the original print. Treat the physical photo and the digital copy as two separate jobs.
How to tell if a photo has mold
Mold on prints often shows up as:
- Fuzzy, powdery or cottony patches, in white, gray, green or black
- Spotty, cloudy blotches that seem to sit on the surface
- A musty smell from the photo, the album or the box
- Prints stuck to each other or to the album page
It’s hard to tell by eye whether mold is active or old and dried, and some stains look similar but have other causes. If in doubt, treat the photo as if it has mold and use the precautions below.
Protect yourself first
Mold can irritate some people, and old, affected materials can release spores when handled. Keep it simple and cautious:
- Wear disposable gloves so you don’t touch the print or spread anything to your hands.
- Wear a well-fitting mask while handling affected photos.
- Work in a well-ventilated place. Outdoors or by an open window is better than a closed room.
- Keep it away from the rest of your collection while you work.
- Wash your hands when you finish, and dispose of the gloves.
If you’re sensitive to mold or unsure about the risks, let someone else handle the photos or leave the job to a professional.
What not to do
When a photo is damaged, the urge to “just clean it” is strong. Please resist it. Do not:
- Wipe the print with a damp cloth, tissue or wipe
- Apply household cleaners or any other chemical
- Use water, a hair dryer, a heater or direct sun to dry the print or get rid of the mold
- Rub, scrub or scrape at the spots
- Pull apart photos that are stuck together
Prints are delicate, and mold may already have weakened the image surface. Moisture, chemicals and heat can lift the image, cause colors to run, or spread the problem. If a photo is also wet or damp, our guide to restoring water-damaged photos covers that side with the same cautious approach.
Separate and store the affected prints
Before you do anything else, stop the problem from spreading:
- Move affected photos away from clean ones.
- Place each print in its own clean paper envelope or between sheets of clean paper.
- Store them in a cool, dry place, not a damp basement, attic or garage.
- Check the rest of the box or album, and move anything that looks or smells suspicious.
Avoid sealing damp prints in plastic, which can trap moisture. For long-term care of the photos that are fine, see our guide to preserving old family photos.
When to call a professional conservator
A digital repair is a great way to save the picture, but it is not the right answer for every original. Consider a professional photograph conservator if:
- The photo is valuable, rare or one of a kind
- The mold is heavy or covers most of the print
- Several photos are stuck together or stuck to glass or album pages
- The print is part of a larger collection with mold throughout
A conservator can tell you what is safe to try on the physical item. Even then, a digital copy made first is a useful record. If the original deteriorates further, you still have the picture.
Restore a mold-damaged photo on your phone, step by step
Once the print is isolated and you are wearing your gloves and mask, you can make the digital copy.
First, photograph the print
Lay the photo flat on a clean, plain surface near a window with soft daylight. Skip the flash, which causes glare. Hold your phone directly above it so the edges stay straight, and take a sharp, evenly lit photo of the whole print. Don’t press the photo under glass or try to flatten it by force. Our guide on scanning old photos with your phone explains how to avoid glare and shadows.
A sharper, more evenly lit copy gives better results, so it’s worth taking a few shots and keeping the best one.
Next, open Restore in Retrocap
In Retrocap, choose Restore and select your photo. Retrocap needs an internet connection because photos are processed on cloud servers, not on your phone.
Then choose the level and options
- Start with the Standard level, which suits light or moderate damage.
- Turn on Remove Stains. This is the option for removing stains, so it is the one to try on mold blotches.
- Turn on Fix Scratches & Tears if the mold has left rough, scratchy or flaking areas. You can learn more about this on the remove scratches from photos page.
- Turn on Enhance Faces if a face is affected, but check it carefully afterward.
Compare with the original
Results usually take seconds, and usually under a minute. Use the before/after comparison to look closely at the damaged areas. If blotches or heavy marks are still visible, run it again with the Deep level, which is meant for heavy damage such as stains, creases and very pale photos.
Save and share
Save the result to your photo library or share it. Results are saved without a watermark. If the photo is also faded or a bit soft, you can run the saved version through Enhance with options like Fix Exposure or Color Correction. If you want to add color to a black-and-white print, our colorizing guide shows how.
What AI can and can’t do with mold damage
It helps to know the limits before you start:
- Light, surface-level stains are often the easiest to improve.
- Heavy damage is harder. Mold can eat into the image layer. Where the picture is actually gone, AI rebuilds the area from the surrounding detail. That means it is a reconstruction, not the original.
- Completely missing parts, such as a lost face, cannot always be recovered.
- Faces can change slightly, especially if they are small or blurry. Always compare with the original.
Imagine a photo of your grandparents where a gray patch covers one shoulder. The AI can often rebuild a small area like that from the surrounding detail, but always compare with the original. If the patch covers a face, the result may look plausible but not exactly like the person.
If the photo shows other people, treat it with respect and think about who may be affected before you share it widely. Restore pictures to preserve memories, not to mislead anyone.
A word on privacy
Photos you restore in Retrocap are used only to create your results. They are sent securely to an AI processing partner to do this, and they are never sold. You can delete your photos and data from the app at any time.
After the repair: keep the memory safe
Once you have a clean digital version, back it up in more than one place, such as your phone, a computer and a cloud account. Keep the original in a dry, stable spot, and don’t throw it away just because the digital copy looks good. If you want a printed version for the wall or an album, use the restored copy and keep the damaged original stored safely.
When you’re ready to give your damaged photos a second look, you can try Retrocap at your own pace.
Frequently asked questions
Can I clean mold off an old photo myself?
It's safest not to. Water, wipes, household cleaners and heat can damage the image surface and may make things worse. For valuable prints, a professional conservator is the right person to ask. For everything else, make a digital copy and repair that.
Does restoring the photo in an app get rid of the mold?
No. Retrocap works on a digital copy of the photo, so it can repair how the image looks. It does not clean or treat the original print. Keep the original isolated and stored in a dry place.
Is it safe to photograph a moldy print?
Take precautions. Wear disposable gloves and a well-fitting mask, work in a ventilated space such as outdoors or by an open window, and wash your hands afterward. If you are sensitive to mold, ask someone else to do it or leave it to a professional.
Which Retrocap tool should I use for mold stains?
Use Restore and turn on Remove Stains. Start with the Standard level and switch to Deep if heavy blotches remain. Fix Scratches & Tears can help where the surface is damaged.
Can AI bring back areas the mold has eaten away?
Only partly. AI rebuilds missing areas from the surrounding detail, so the result is an educated reconstruction. If a face or other key detail is completely gone, it cannot always be recovered. Always compare the result with the original.
Related guides
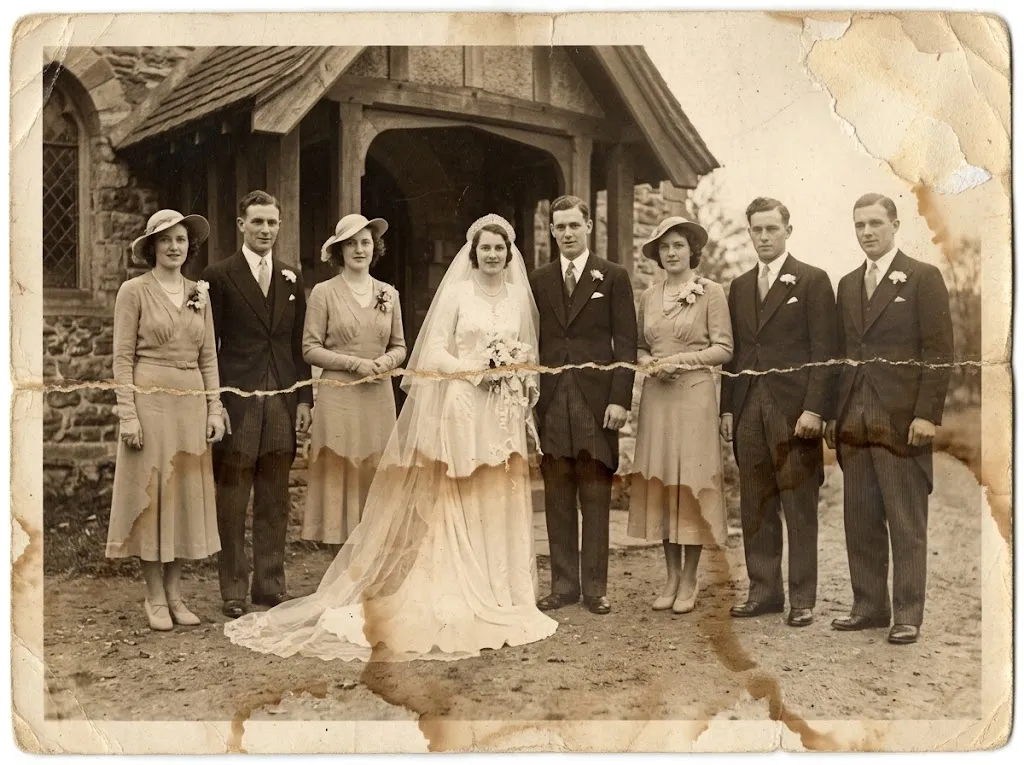 Before
 After
Repair
How to Restore Water-Damaged Photos
What to do with wet or water-damaged photos: dry them safely, photograph the damage and remove water stains and marks with AI restoration.
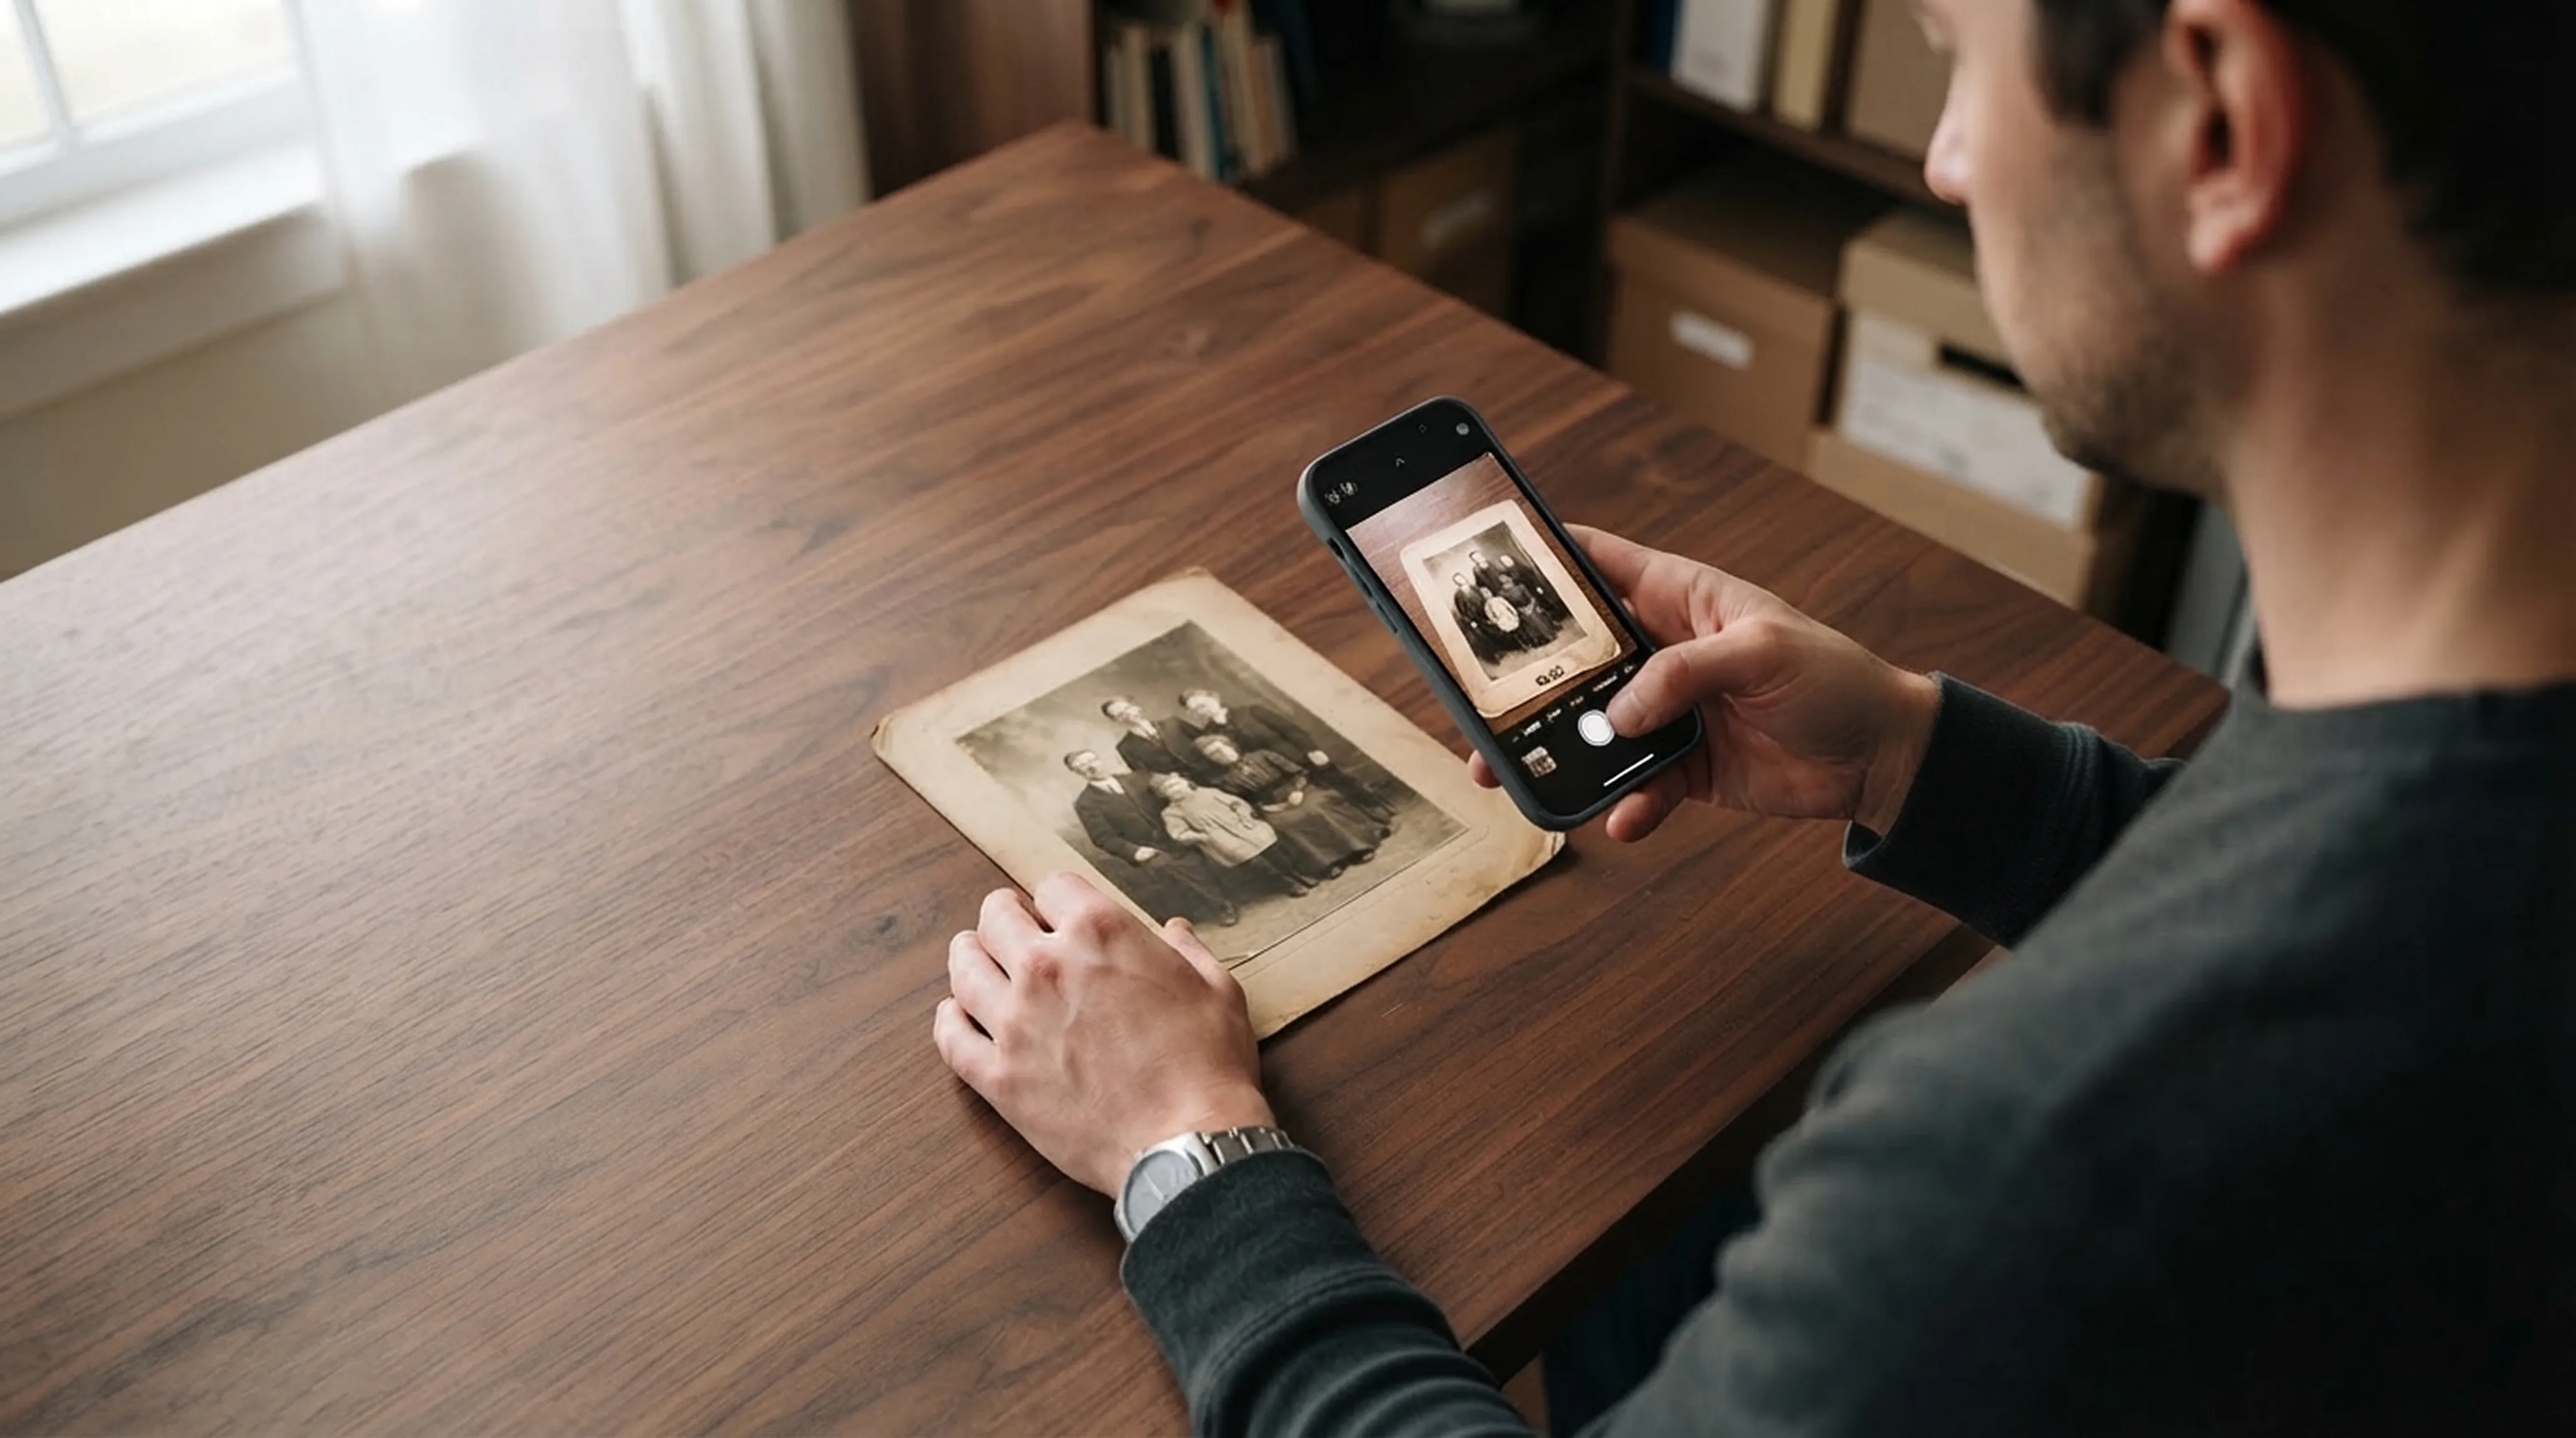
Scanning technique
How to Scan Old Photos with Your Phone Without Glare
Lighting tricks, angle secrets and lens cleaning practices for getting flatbed scanner quality from your smartphone.
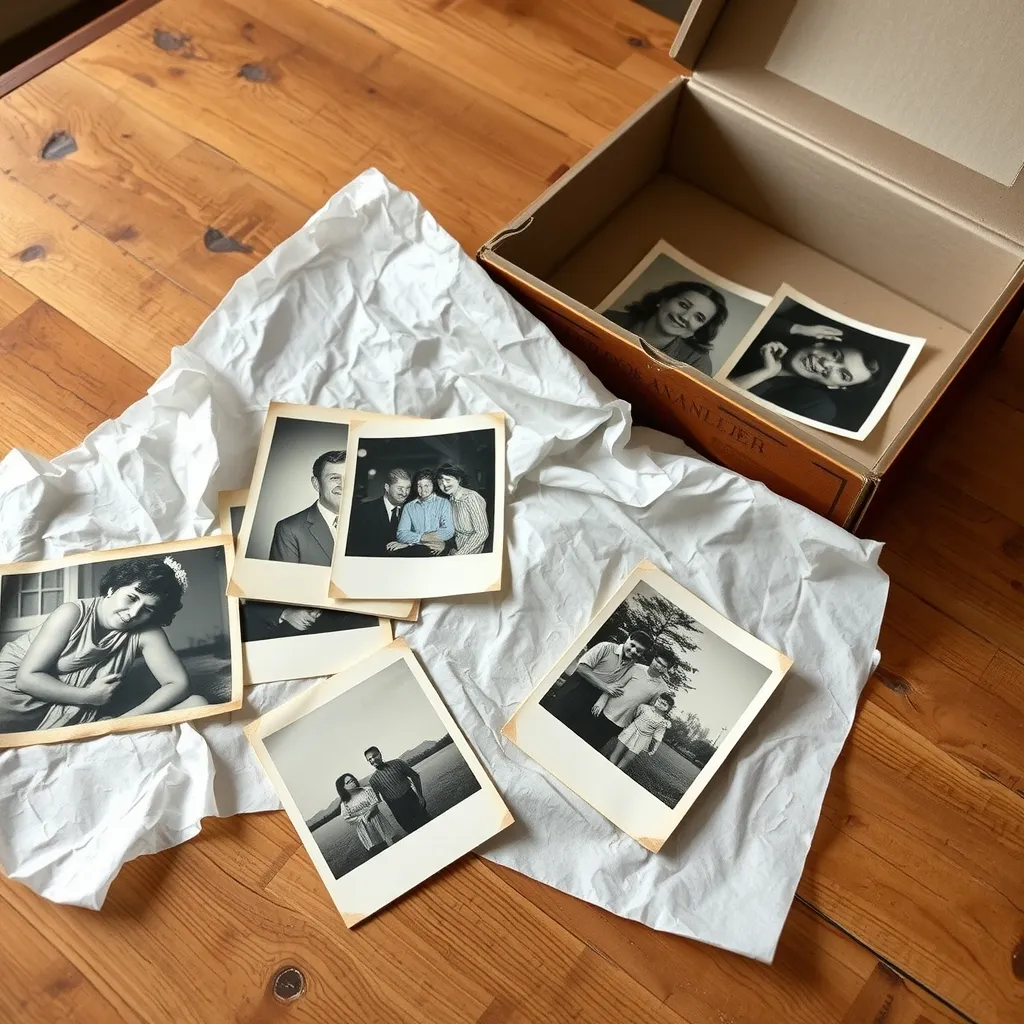
Basics
How to Preserve Old Family Photos: A Practical Guide
Learn how to preserve old family photos with safe storage, careful handling, digital copies and light restoration. Know when to call a conservator.