
Repair
How to Remove Stains from Old Photos
By the Retrocap Team · Updated
TL;DR
A safe way to remove stains from old photos is to leave the original print alone, scan or photograph it, and fix the stains on the digital copy. In Retrocap, open Restore and turn on Remove Stains. For valuable or fragile originals, ask a professional conservator.
A safe way to remove stains from old photos is to leave the original print alone, make a good digital copy, and clean up the stains on that copy. A phone app can usually do this in under a minute. Rubbing or wiping a real print often makes the damage worse.
This guide explains what causes stains, what not to do to the print, and how to fix stains step by step with Retrocap.
Why old photos get stains
Stains on old prints usually come from ordinary life, not from anything you did wrong. The common causes are:
- Moisture. Water spots, tide-line marks and cloudy patches often appear after a damp basement, a leaky box or a humid attic.
- Age spots. Small brown or reddish dots can appear as paper and chemicals change over the decades.
- Handling. Fingerprints and grease marks build up when prints are passed around without protection.
- Albums and tape. Sticky album pages, tape and glue can leave yellow or brown patches that spread over time.
- Mold. Fuzzy or powdery spots come from mold. That is a different problem and needs extra care. We cover it in our guide to restoring mold damaged photos safely.
Knowing the cause helps you decide how careful to be. A faint fingerprint on a duplicate print is low stakes. A stained one-of-a-kind portrait of your great-grandparents deserves more caution.
What not to do to the physical print
It is tempting to grab a damp cloth. Please don’t. Old photo surfaces are delicate, and many stains are bonded into the paper or the image layer.
- Don’t rub or scrub. Even a soft cloth can scratch the surface or lift part of the image.
- Don’t use water. Wetting a print can cause sticking, warping and new marks.
- Don’t use solvents or household cleaners. Alcohol, glass cleaner, stain removers and similar products can strip or discolor the image.
- Don’t use heat. Hair dryers and heaters can curl, crack or bake the print.
- Don’t peel photos off album pages or glass by force. Stuck photos tear easily.
What you can safely do is handle the print gently by its edges with clean, dry hands, and keep it flat and away from damp. If a photo is valuable, fragile, stuck to something or showing signs of mold, a professional conservator is the right person to ask. Because they can look at the print in person, they can tell you what is possible and what is risky.
For heavier moisture problems, see our guide on restoring water-damaged photos.
Step 1: Make a clear copy of the photo
The digital fix is only as good as the copy you start with. A sharper, evenly lit copy gives better results.
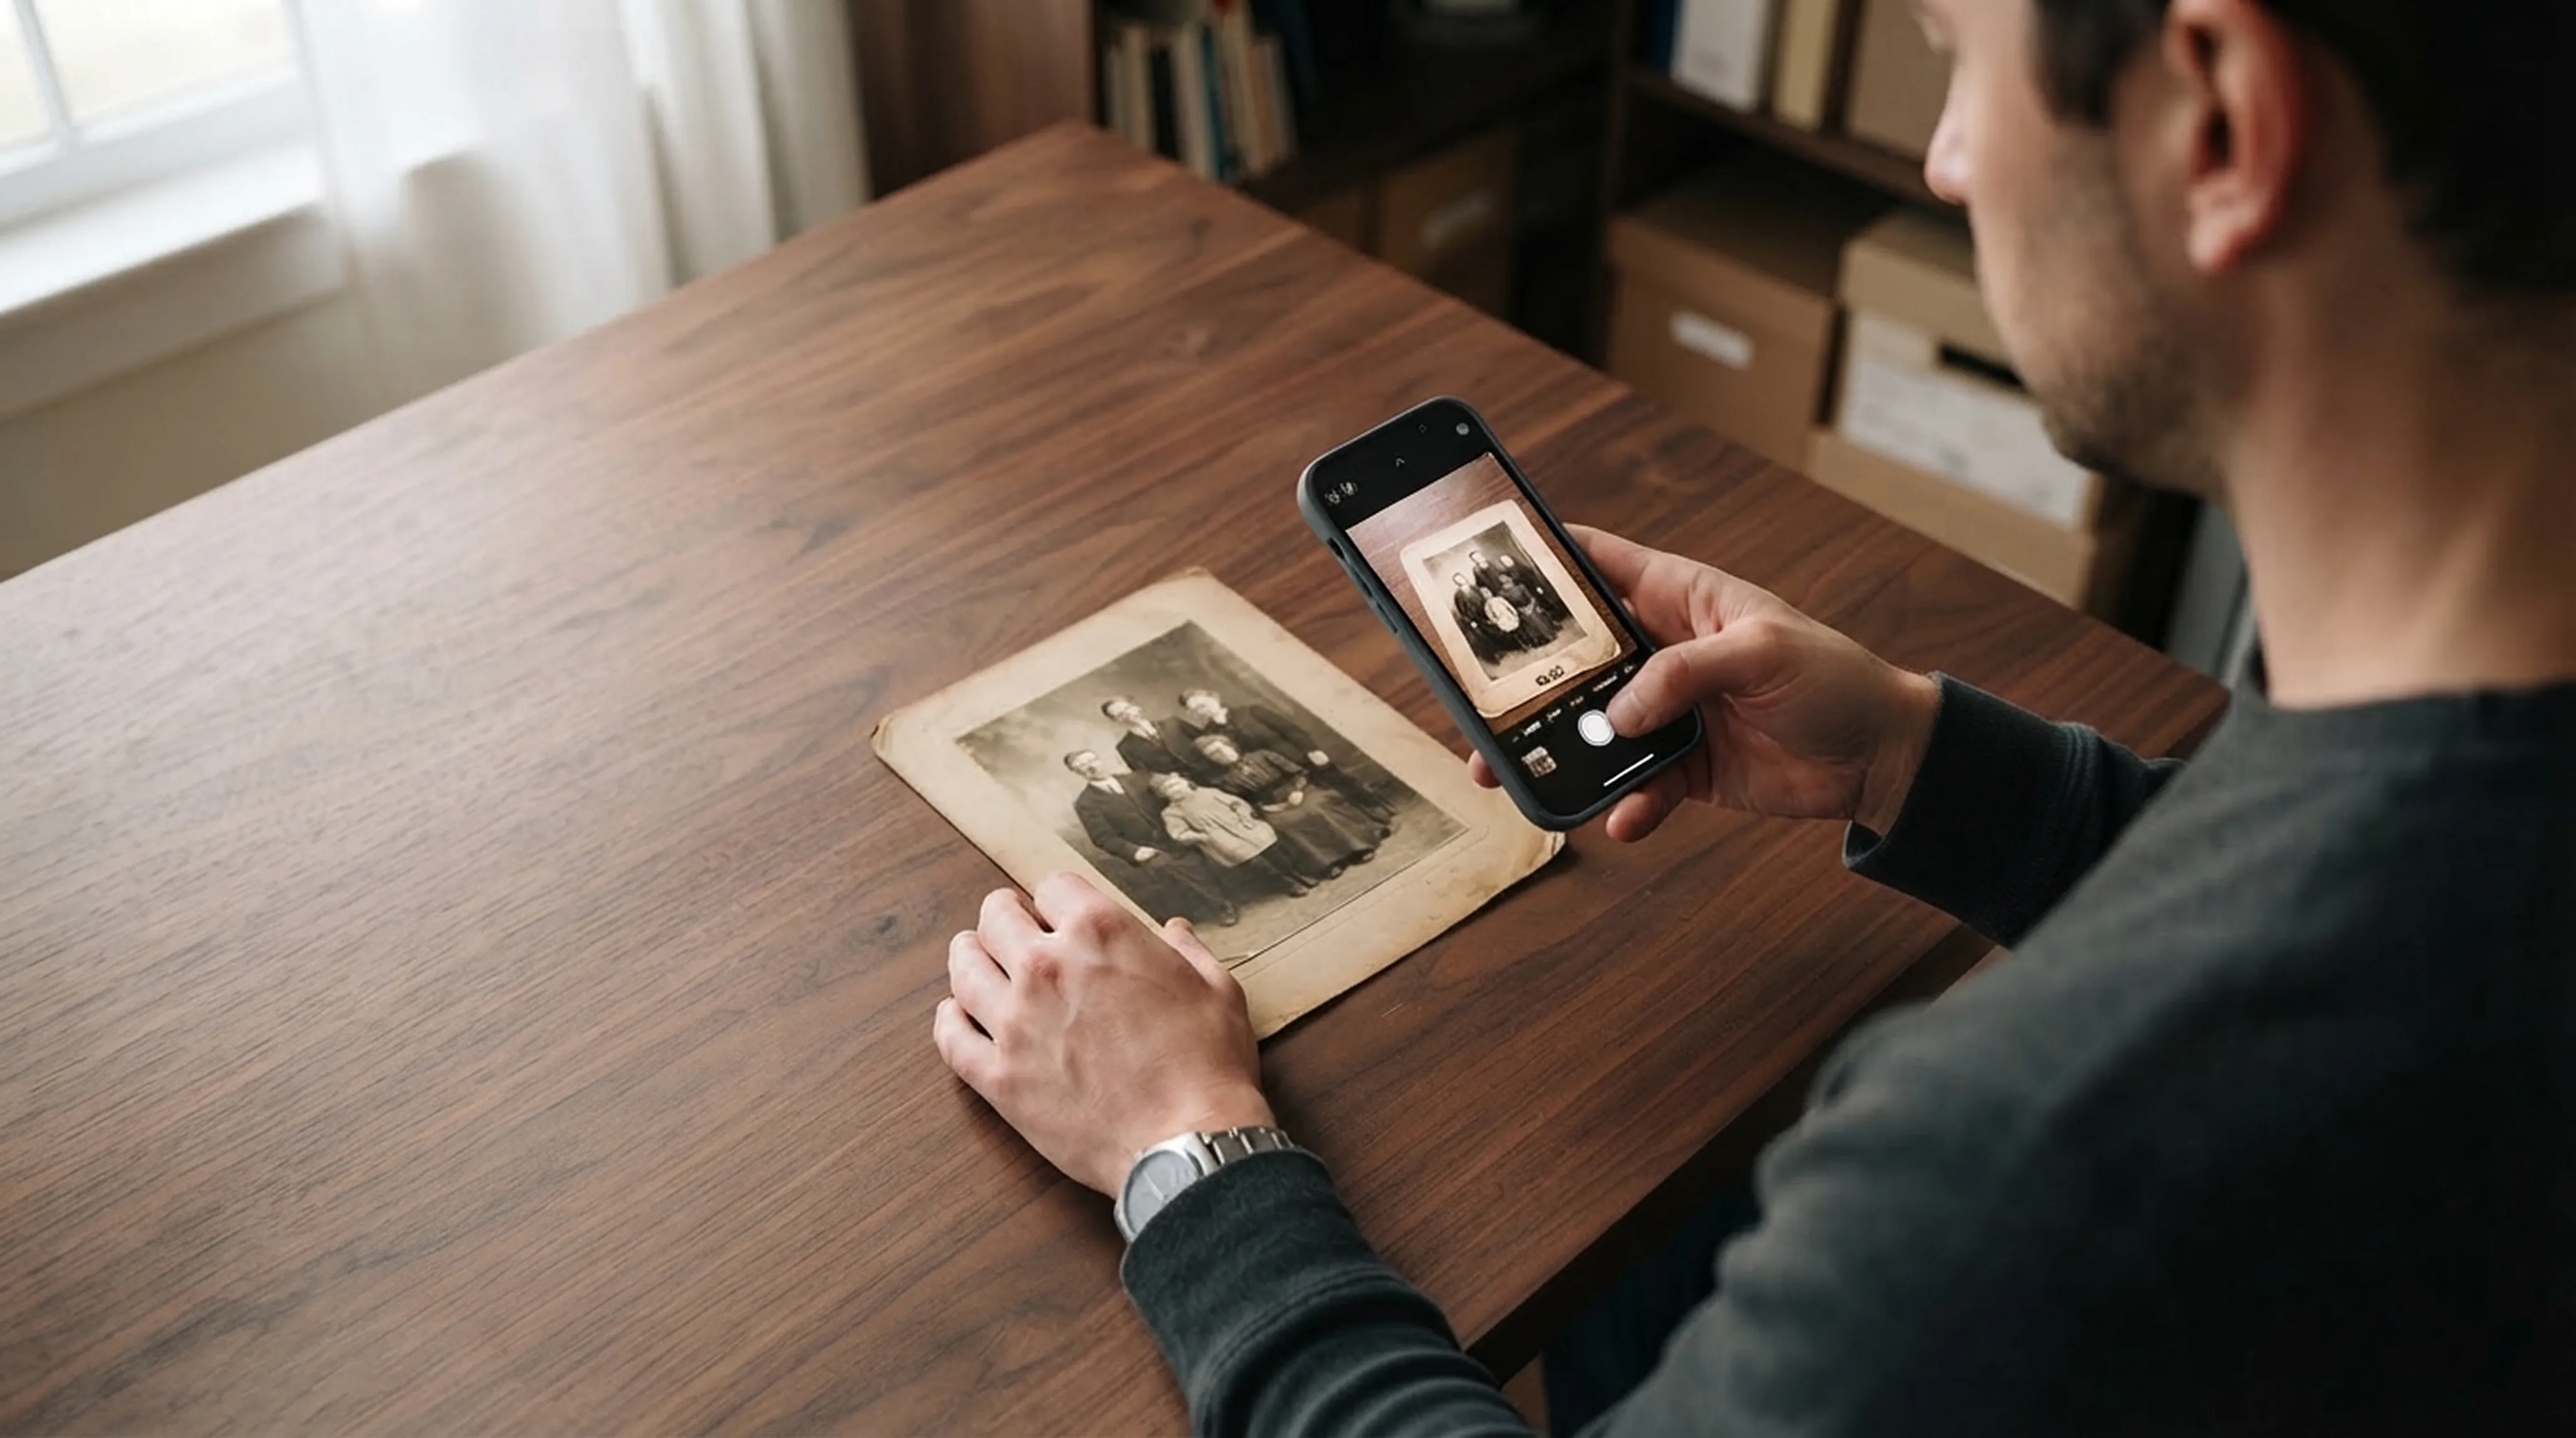
- Place the print flat in soft, even light, such as a bright window on an overcast day.
- Avoid glare from lamps, flash or glossy surfaces.
- Hold your phone directly above the photo so the edges aren’t skewed.
- Fill the frame, and tap to focus before you shoot.
If you want a more detailed walkthrough, our guide on scanning old photos with your phone shows how to avoid glare and shadows. Once you have the copy, put the original back somewhere safe and untouched.
Step 2: Remove stains with Retrocap
Retrocap’s Restore tool has a Remove Stains option made for this job. You can read more about the repair tools on the remove scratches and damage from photos page. An internet connection is required, because photos are processed on cloud servers rather than on your phone.
- Open Retrocap and choose Restore.
- Pick the photo you just captured from your photo library.
- Choose a restoration level. Start with Standard, which is meant for light or moderate damage.
- Turn on Remove Stains.
- If the photo also has creases or small scratches, you can turn on Fix Scratches & Tears as well.
- If a stain sits over a face, consider Enhance Faces, and check the face carefully afterward.
- Start the restoration. Results usually take seconds, and usually no more than a minute.
- Compare the result with the original using the before/after view.
Restoring photos uses credits, which are called tokens in the app. Retrocap is free to download, and the options for getting tokens are shown in the app.
When to switch to Deep
Standard is a good first try. If you still see stains, creases, a strong color cast or a very pale image afterward, run the photo again with Deep. It is designed for heavy damage, such as long tears, several pieces, creases, stains and very pale photos.
A practical approach is:
- Standard for a few light spots, a faint water mark or a fingerprint.
- Deep for large blotches, heavy discoloration or a photo with several kinds of damage at once.
If the photo is also torn, our guide on fixing a torn photo without damaging it covers handling the print and scanning the pieces.
Check the result honestly
AI stain removal has limits. Keep these in mind:
- It rebuilds from what surrounds the stain. When a stain completely covers part of the picture, the AI fills that area using nearby detail. The result may look believable without being exactly what was there.
- Completely missing parts can’t always be recovered. If a face or an important detail is gone, the app can’t always bring it back.
- Faces can shift slightly. This is more likely on very small or very blurry faces. Compare the faces with the original, especially if the photo is of someone dear to you.
- Mold and heavy damage may need a person. If the original is physically deteriorating, a conservator should look at it before you do anything else.
If you’re not happy with the first result, you can try another level or turn an option on or off. Your original print and your untouched scan stay as they are. Keep in mind that each attempt uses tokens, so it helps to change one thing at a time.
Save, share and keep the original safe
Once you’re happy, save the result to your phone’s photo library or share it directly. Results are saved without a watermark and in high resolution, suitable for sharing and printing at common photo sizes.
A few good habits to finish:
- Keep the untouched scan. Store it alongside the restored version so you always have the original to go back to.
- Store the print properly. Keep it in a cool, dry place, away from direct sunlight, and ideally in an archival sleeve or box. Our guide to preserving old family photos has practical tips.
- Be respectful with other people’s photos. If a picture shows relatives or friends, think about who might see it before you share it, and ask when it’s appropriate. Restoration should help you remember the photo, not misrepresent it.
- Delete what you no longer need. You can delete your photos and data from the app at any time.
If you have a stained photo waiting in a drawer, you can try Retrocap’s Restore tool with Remove Stains whenever you feel ready.
Frequently asked questions
Can I clean a stain off an old photo myself?
It's safest not to. Rubbing, water, solvents, household cleaners and heat can all damage a print permanently. Fix the stain on a digital copy instead, and ask a professional conservator about any original that matters to you.
Will Retrocap remove every stain?
Not always. Results vary from photo to photo. When a stain covers an area completely, the AI rebuilds that spot from the surrounding detail, so the result can be an approximation. Always compare it with the original.
Should I choose Standard or Deep in Restore?
Start with Standard, which is meant for light or moderate damage. If large stains, creases or a strong color cast are still visible, run the photo again with Deep.
Can stains change faces in the photo?
Sometimes. AI can slightly change facial features, especially on very small or very blurry faces. If a stain crosses a face, check the result closely against the original before you save or share it.
Related guides
 Before
 After
Repair
How to Restore Water-Damaged Photos
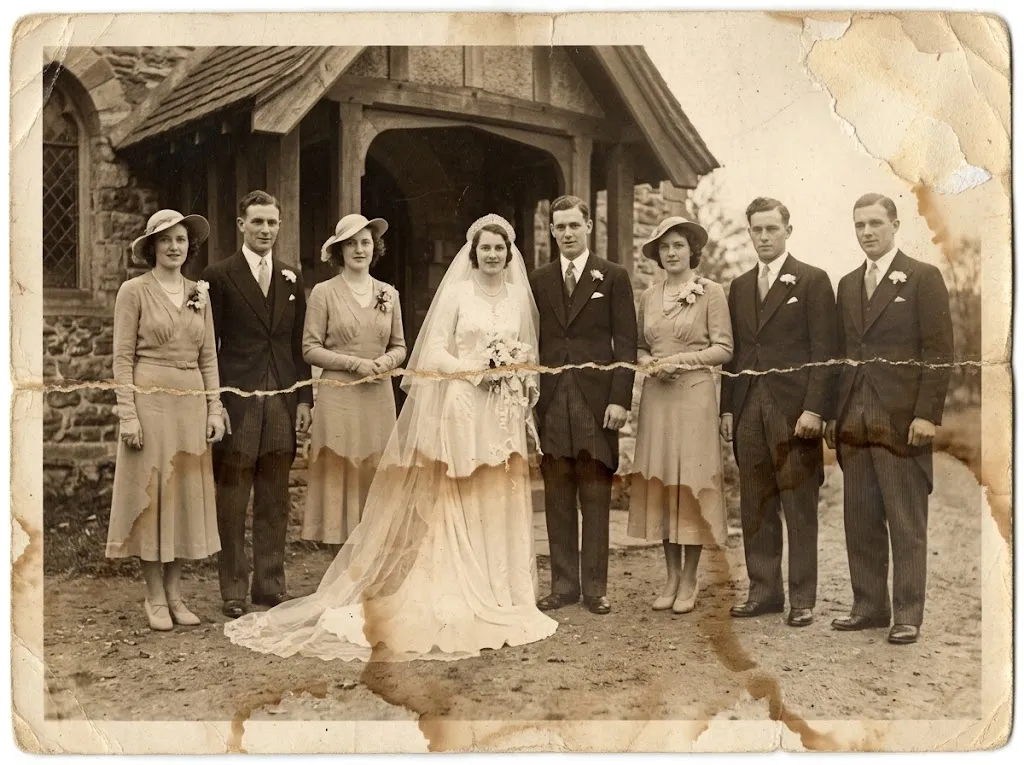
What to do with wet or water-damaged photos: dry them safely, photograph the damage and remove water stains and marks with AI restoration.
 Before
 After
Repair
How to Fix a Torn Photo Without Damaging It
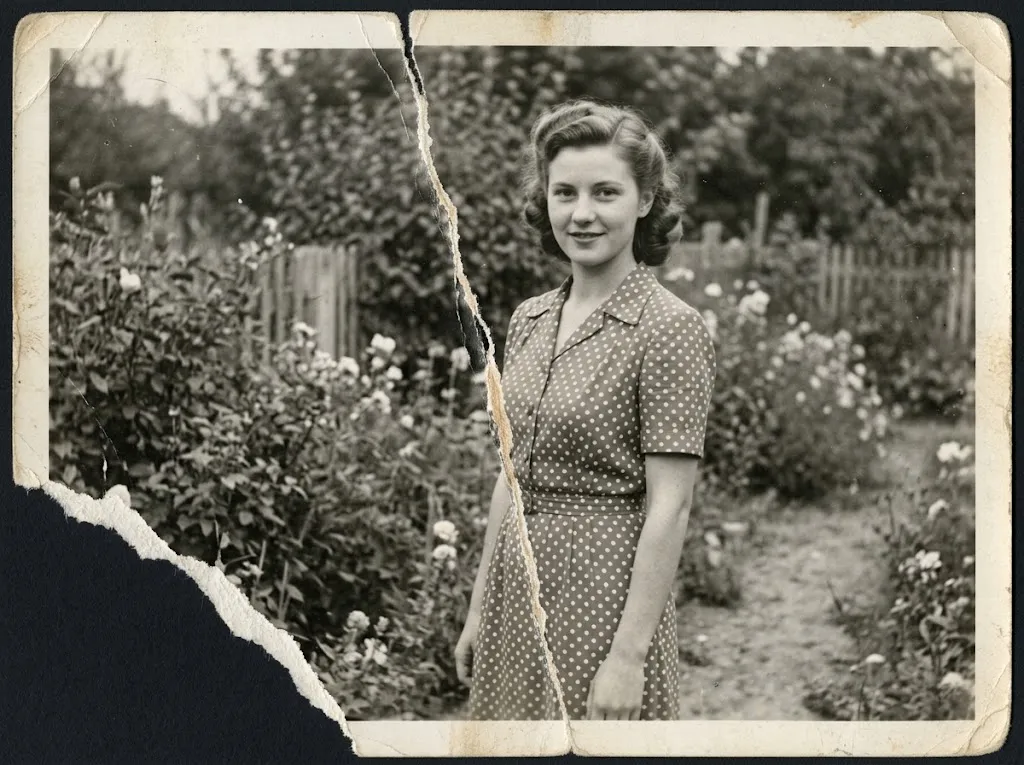
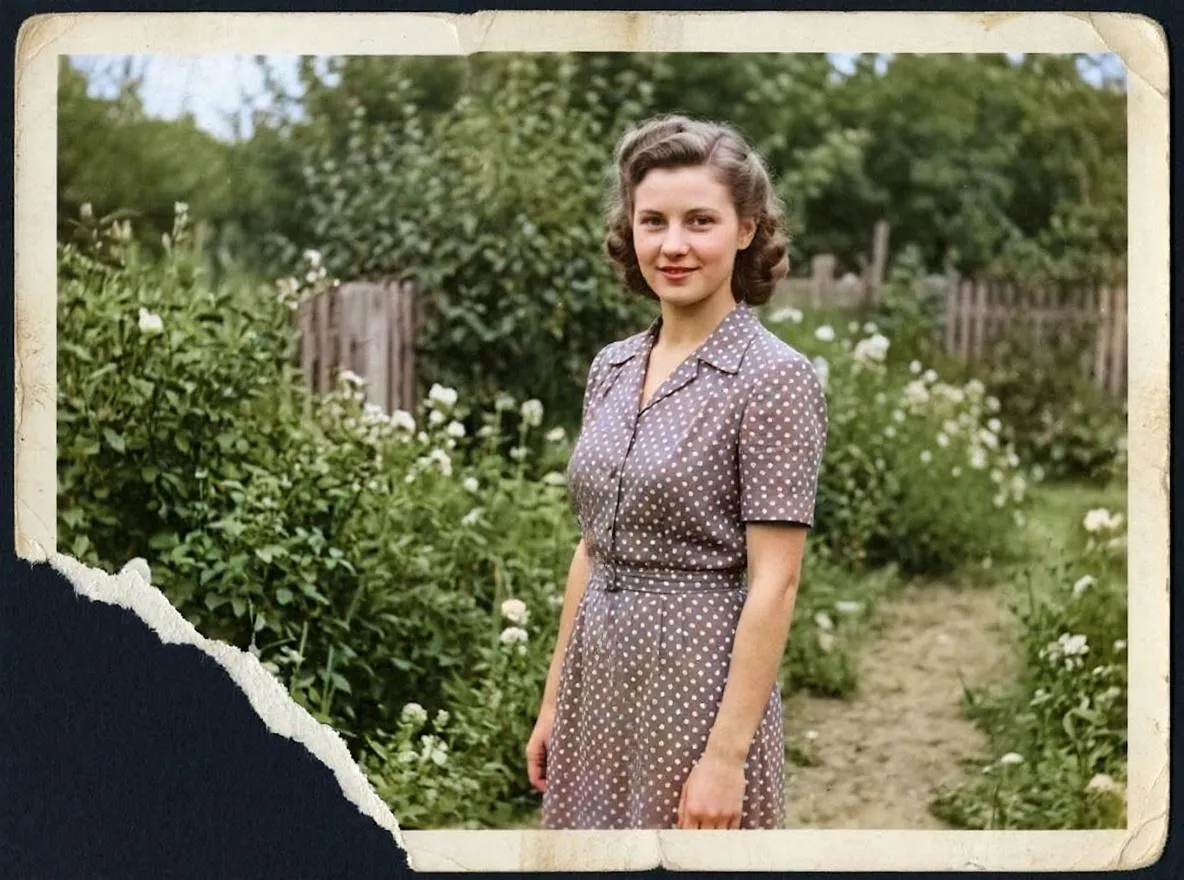
Fix a torn photo safely: handle the pieces, photograph them as one image and repair the tear with AI, plus what to do when part of the photo is missing.
Scanning technique
How to Scan Old Photos with Your Phone Without Glare
Lighting tricks, angle secrets and lens cleaning practices for getting flatbed scanner quality from your smartphone.